LSM 710 Basic Operation
Turning On the System
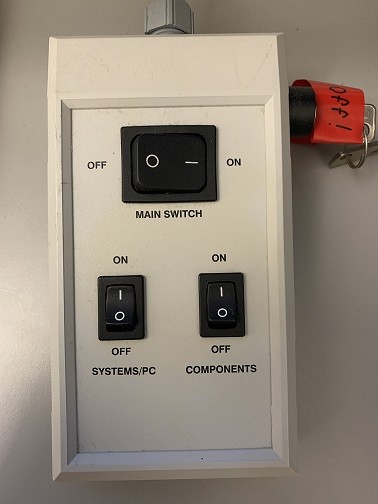
Make sure the main power switch, systems switch and components switch are all on. The key should be turned on, please do not touch the key.
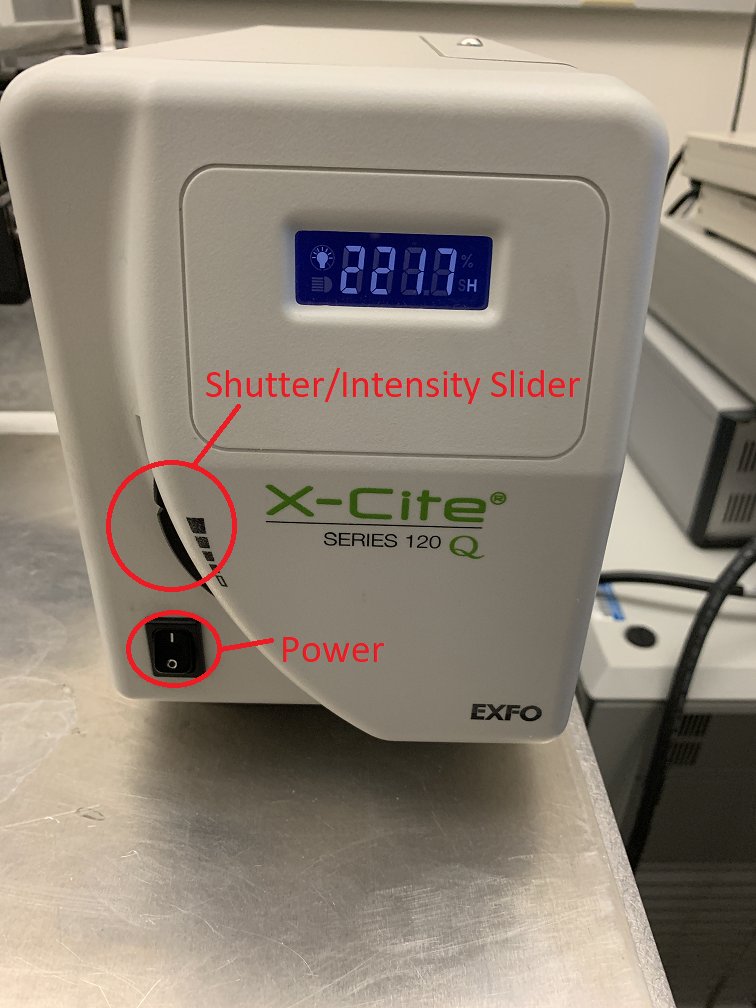
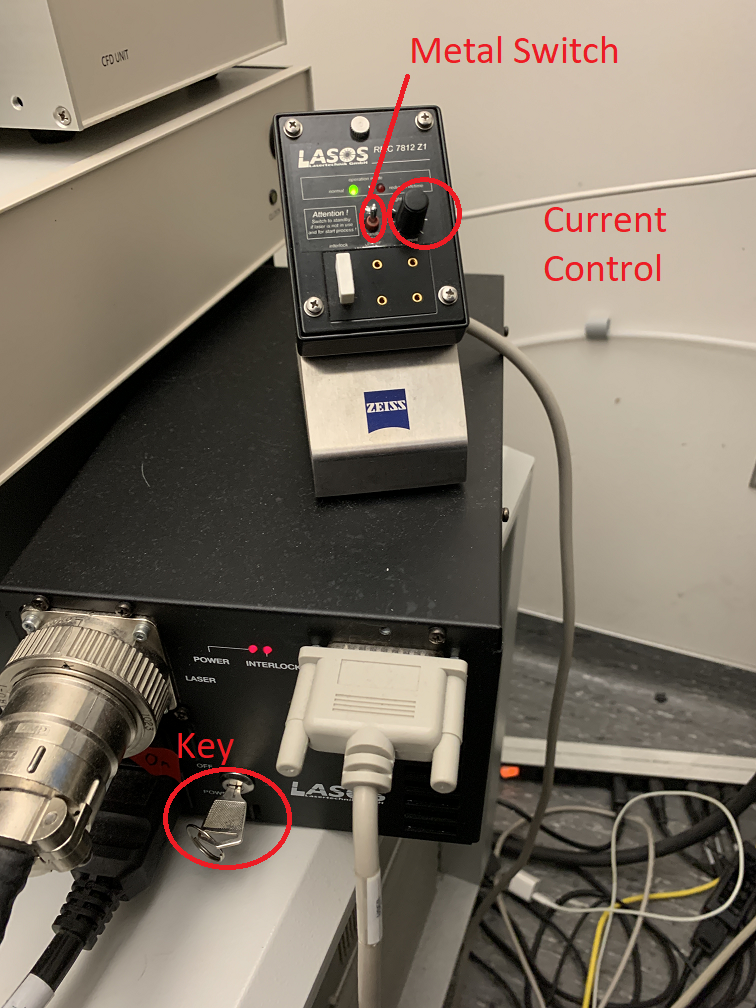
Turn on the X-Cite lamp next to the microscope. Turn on the Argon ion laser. Turn the key to the horizontal position and flip the small metal switch up. If the light is red lower the current control knob until it is green.
Loading Your Sample
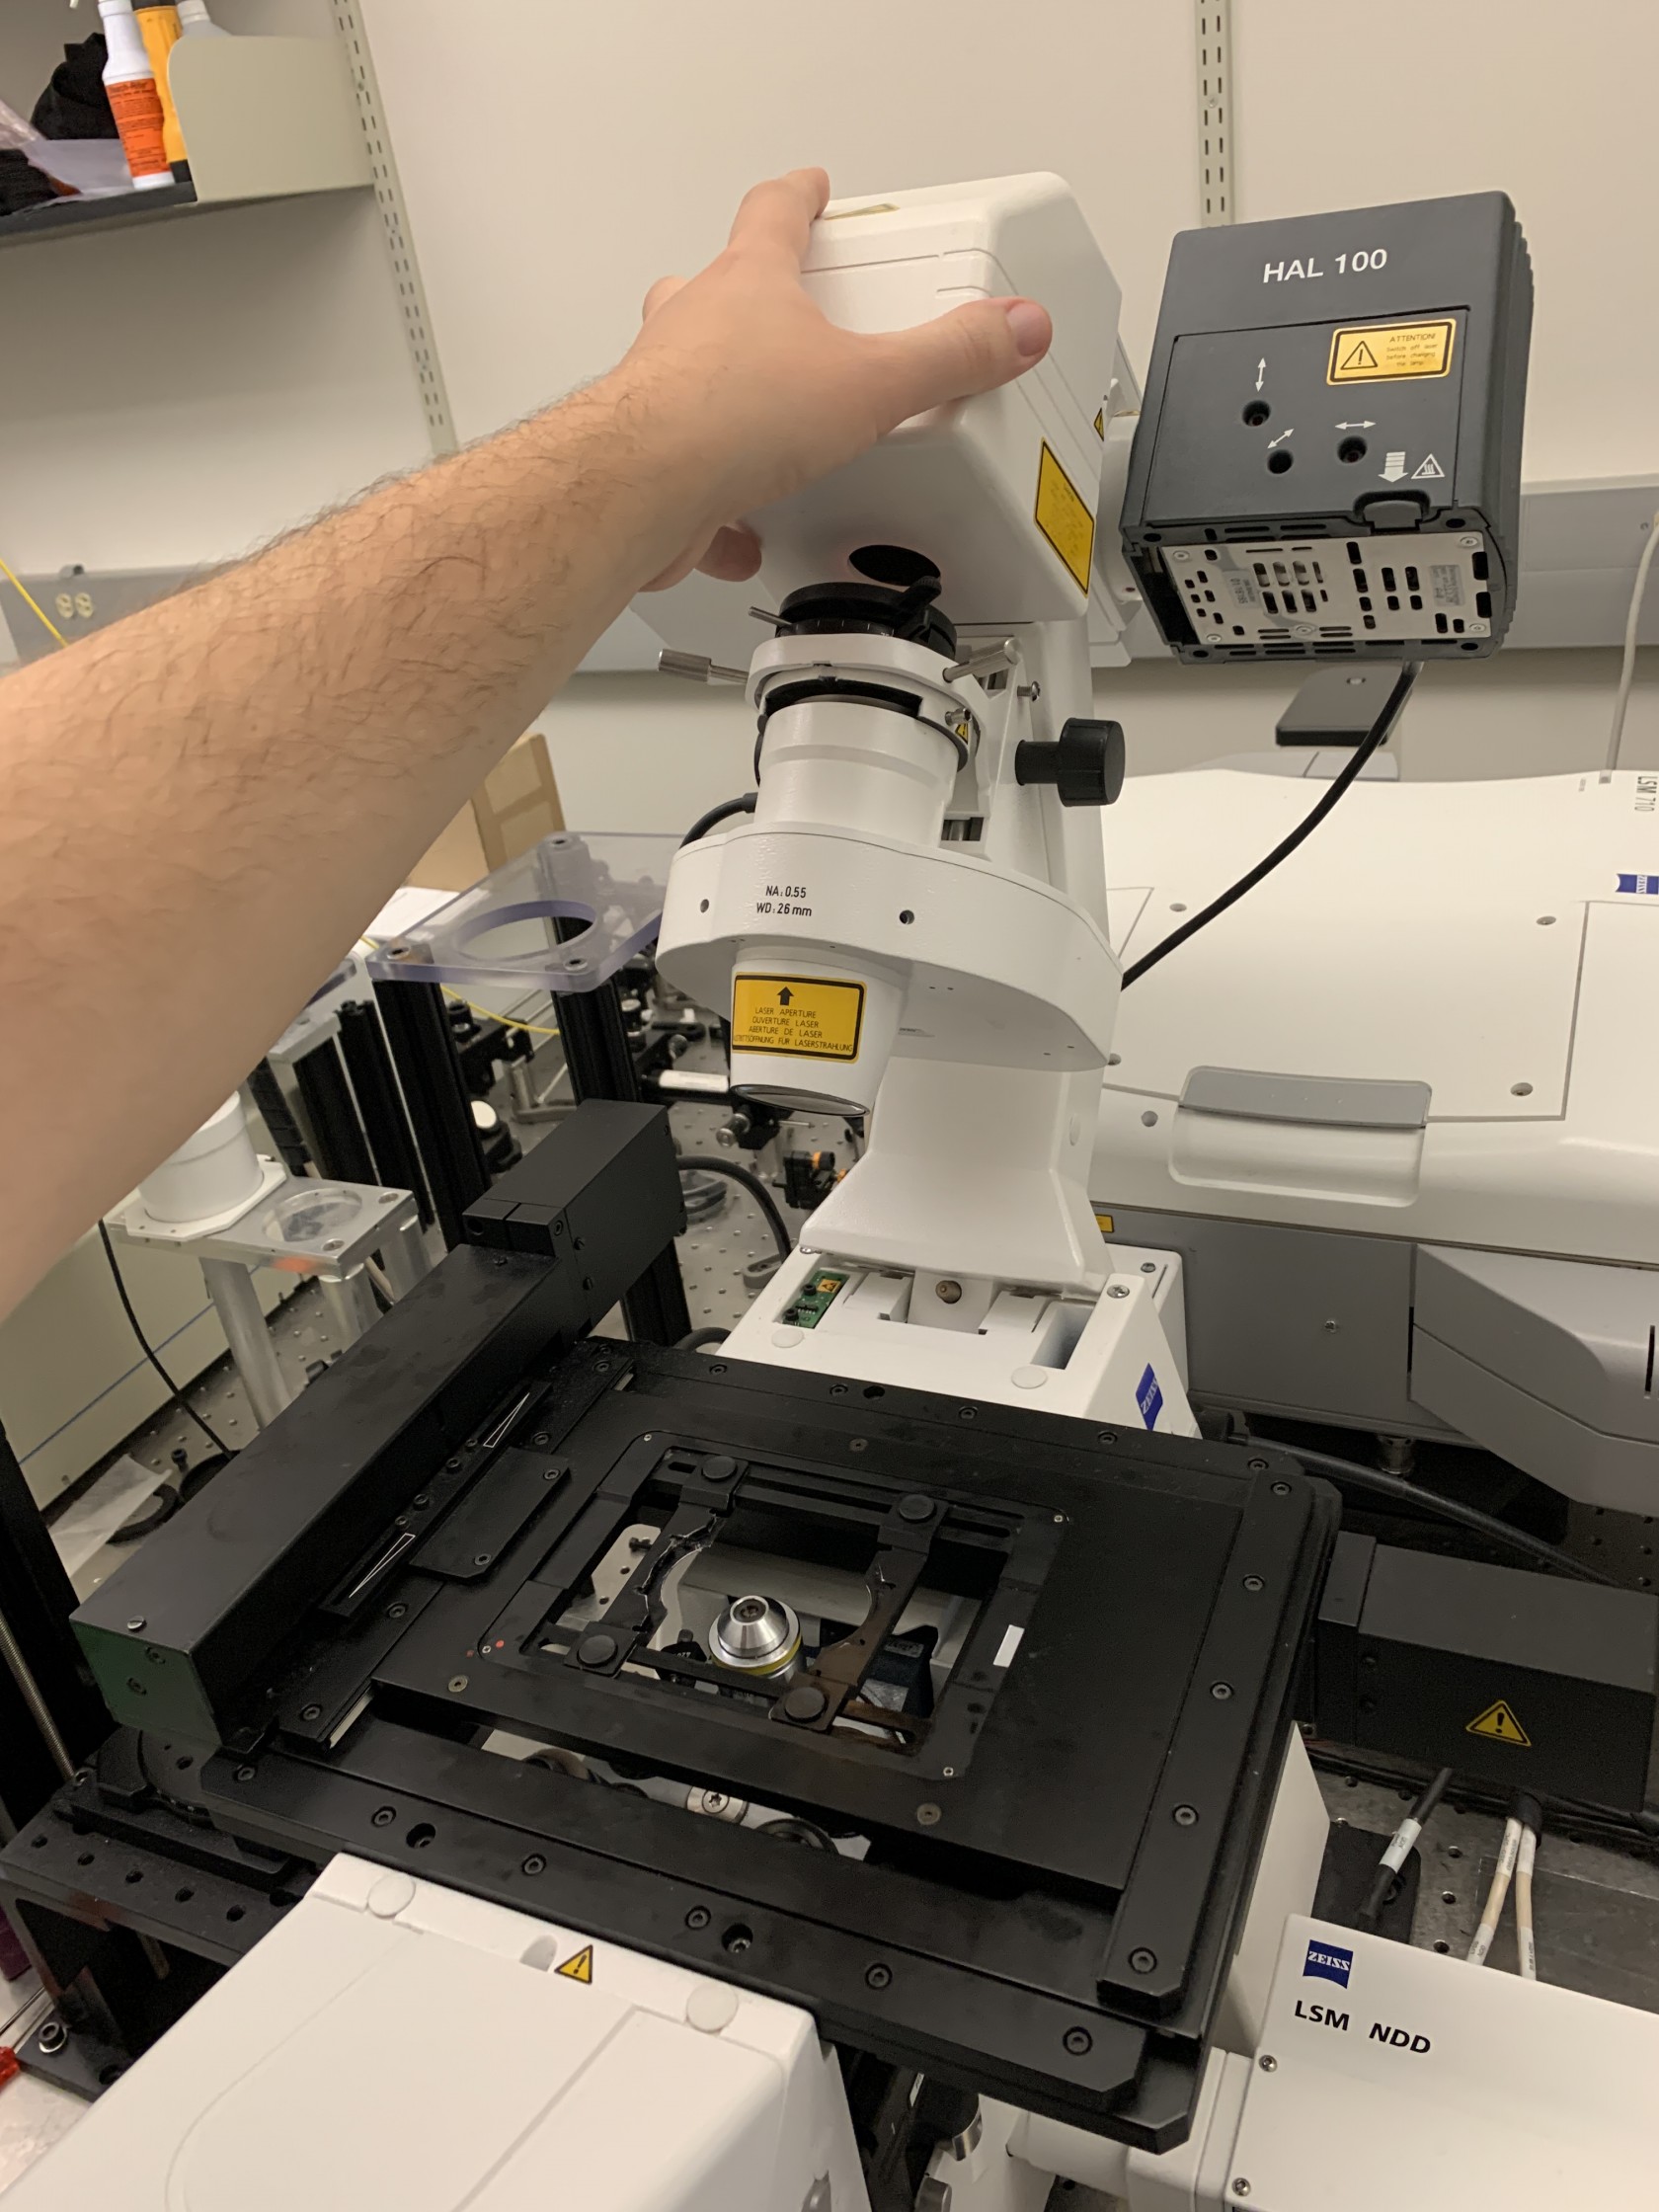
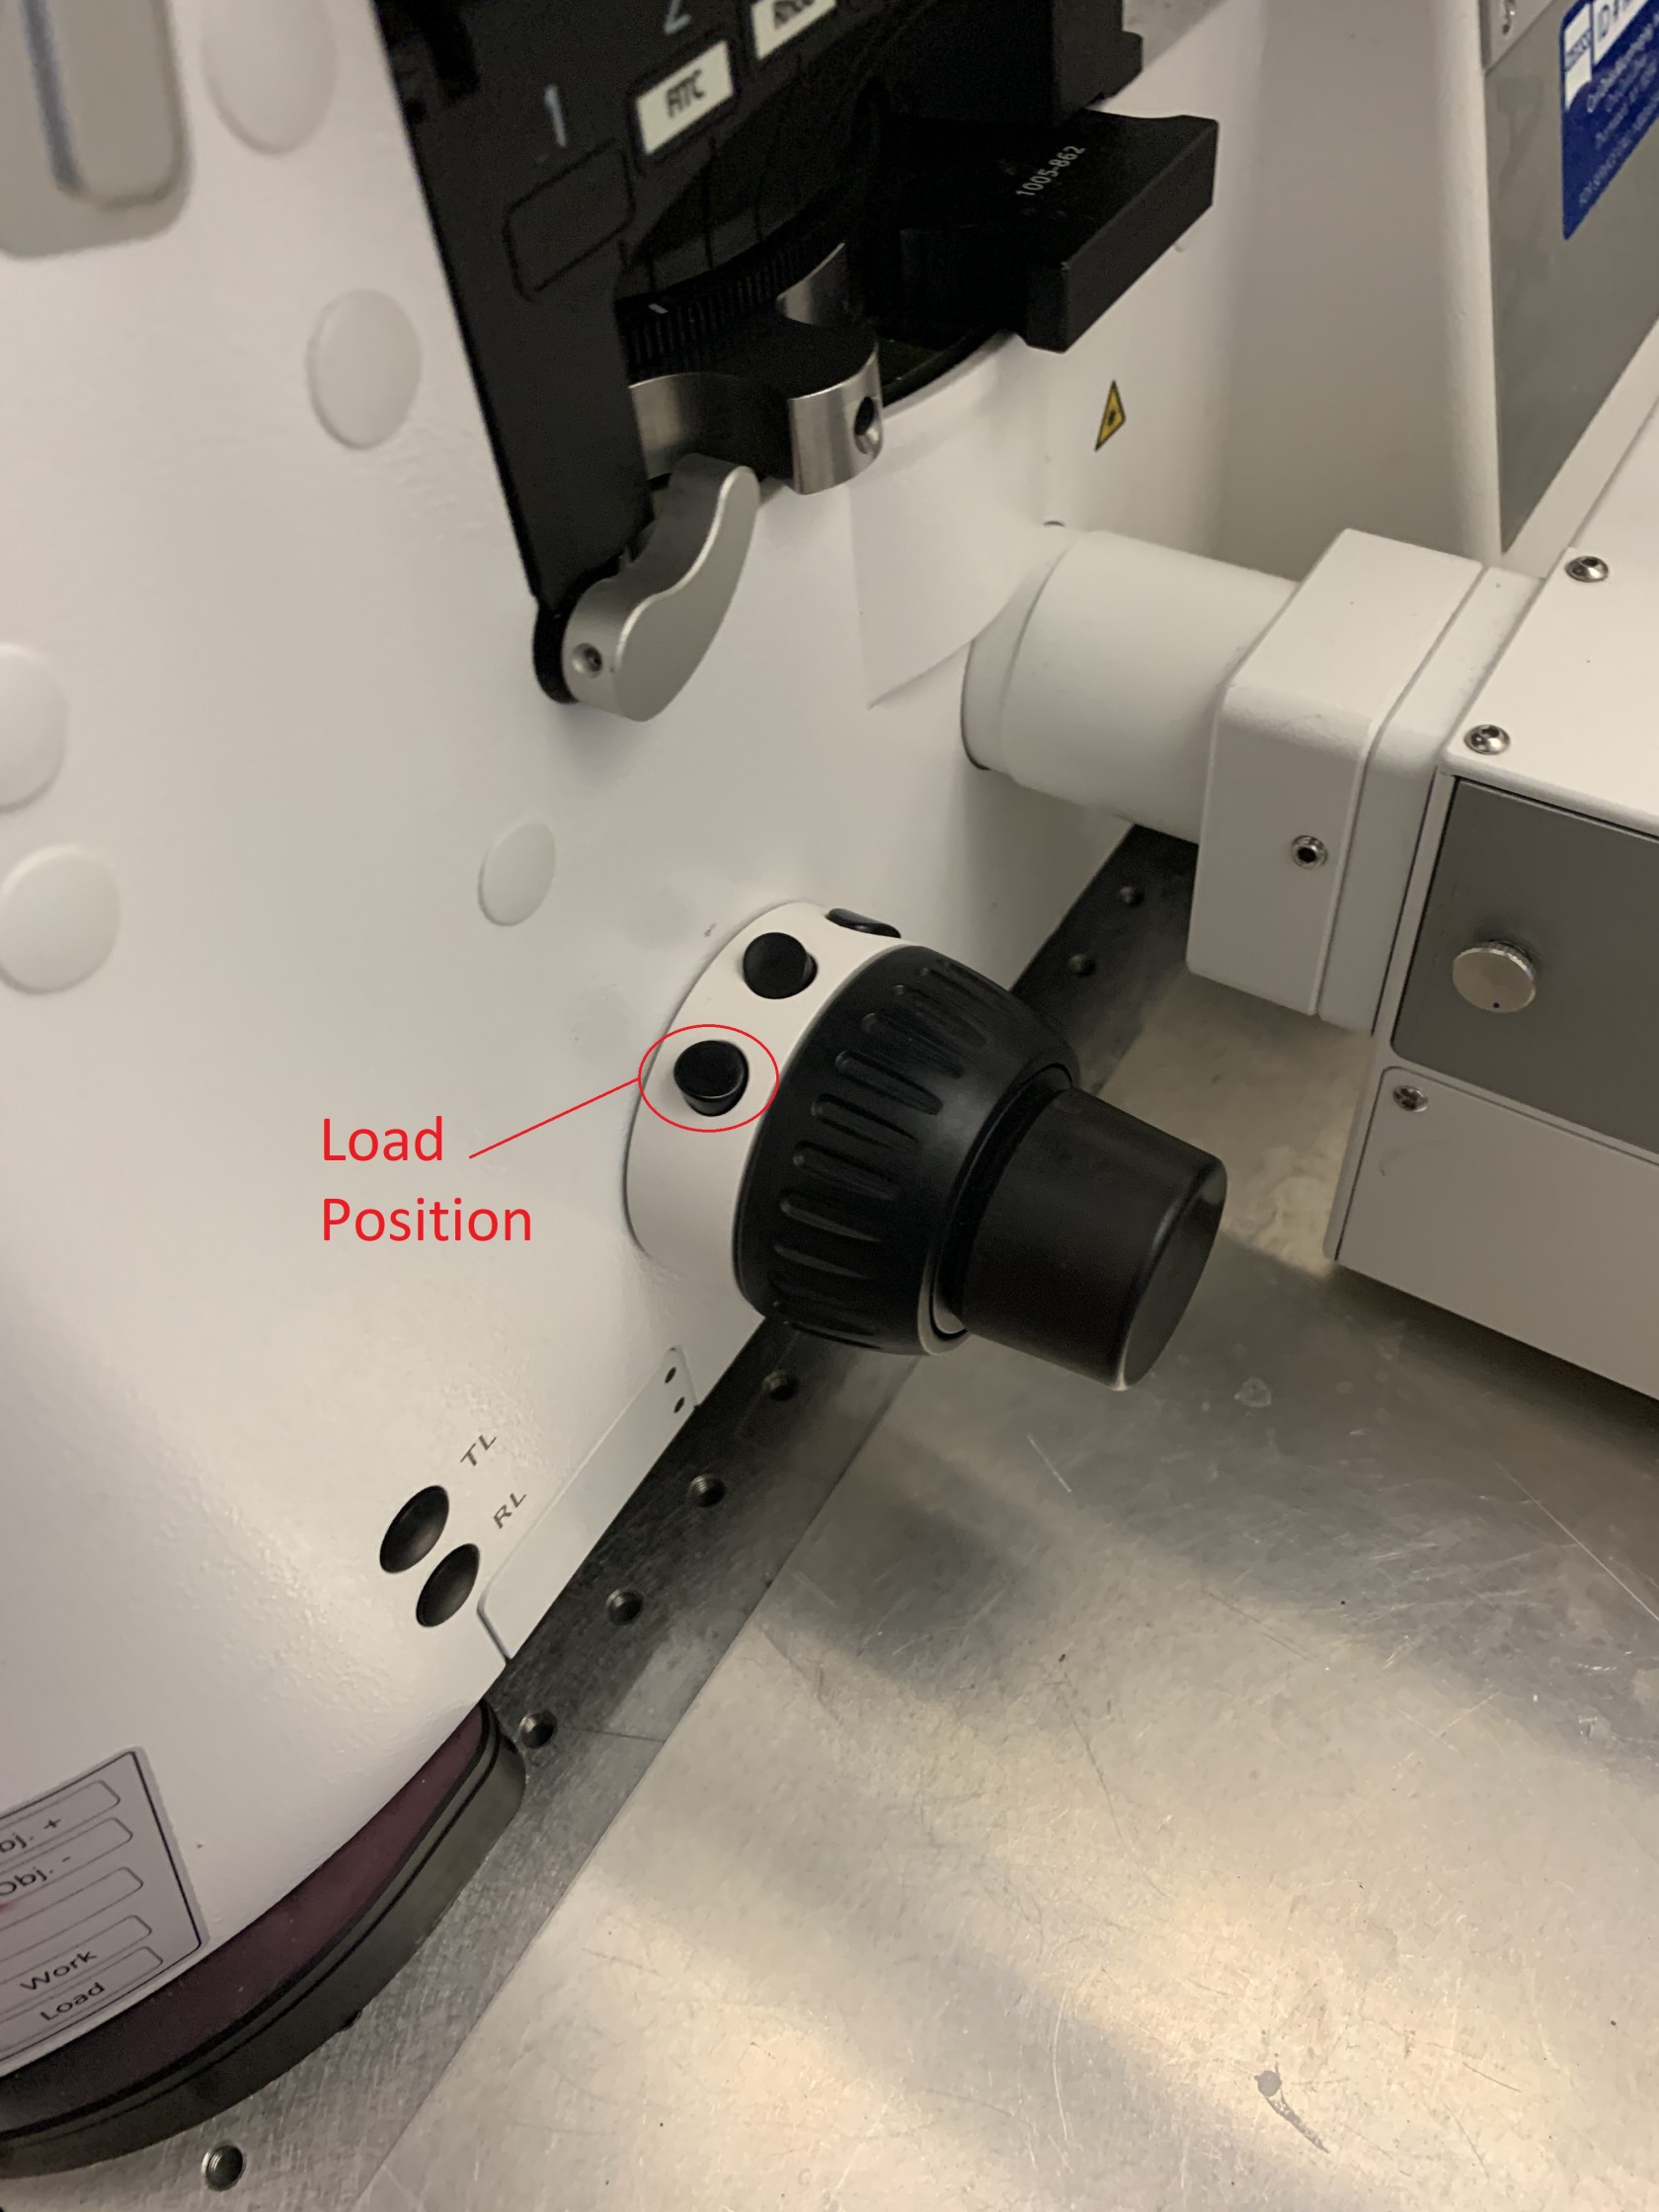
To load your sample push the arm of the microscope back until it holds in place (don't grab it by the condenser). Before loading the sample, press the lower button on the focus knob to lower the objective to the load position.
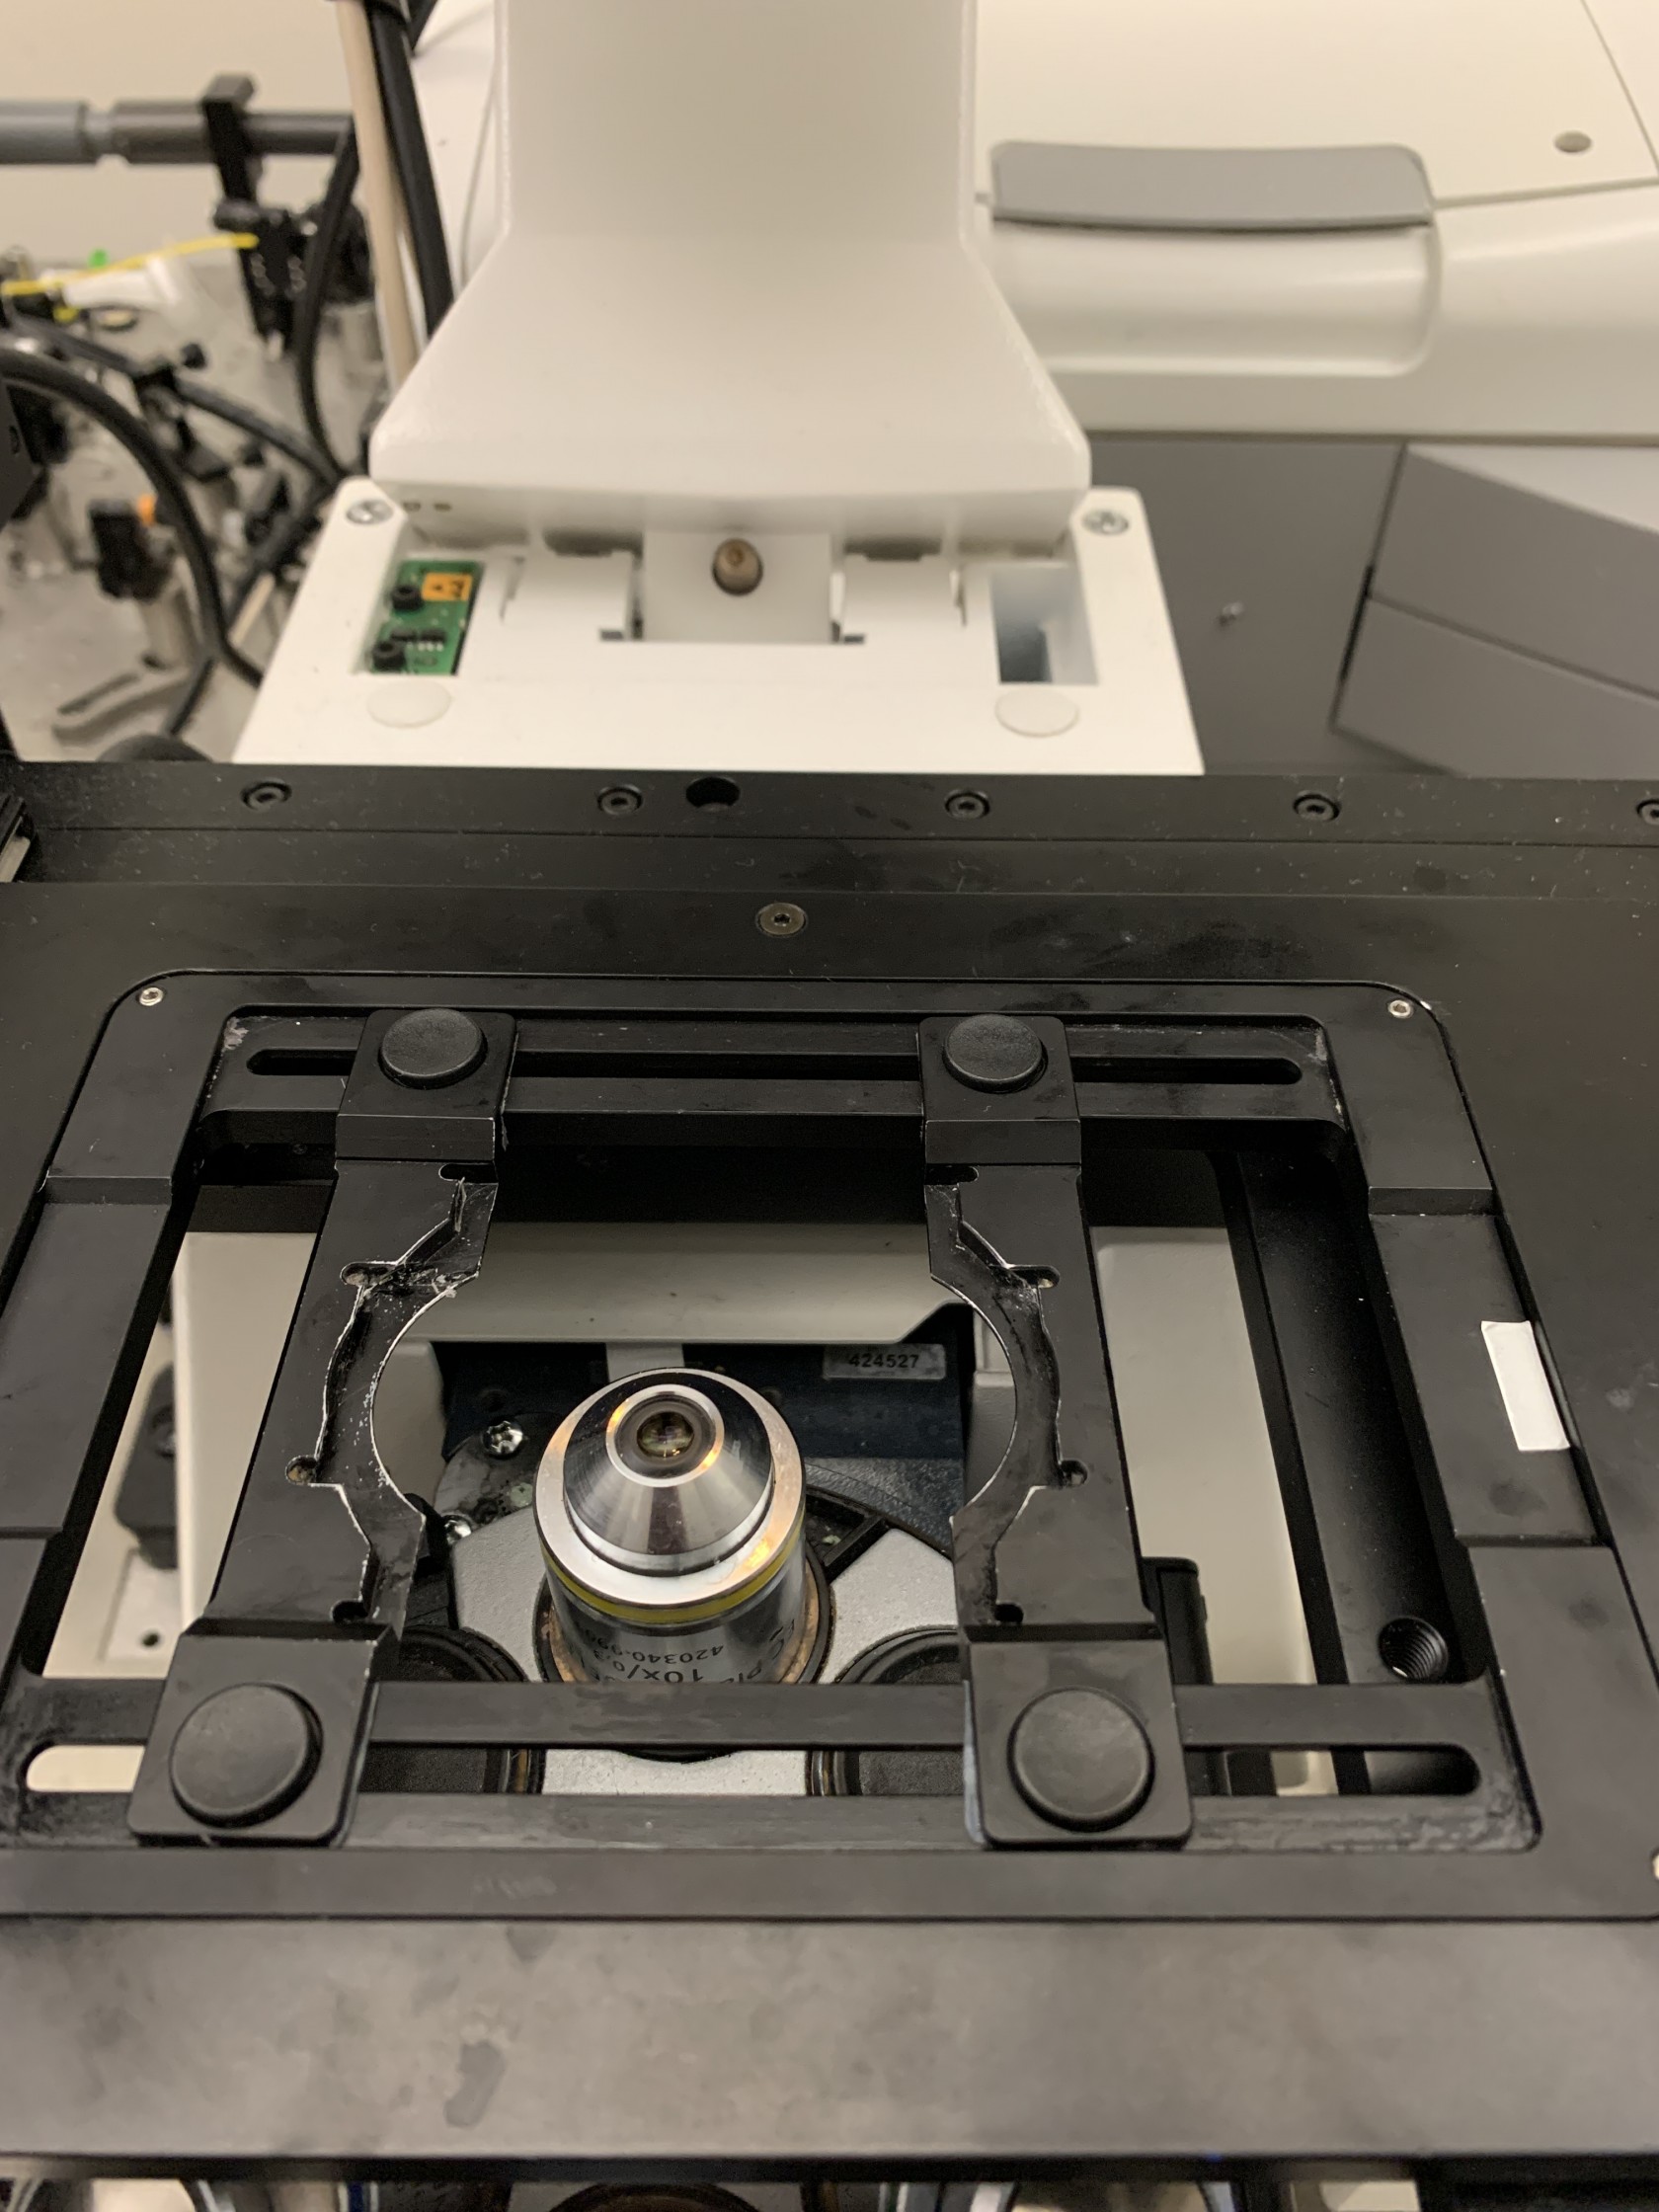
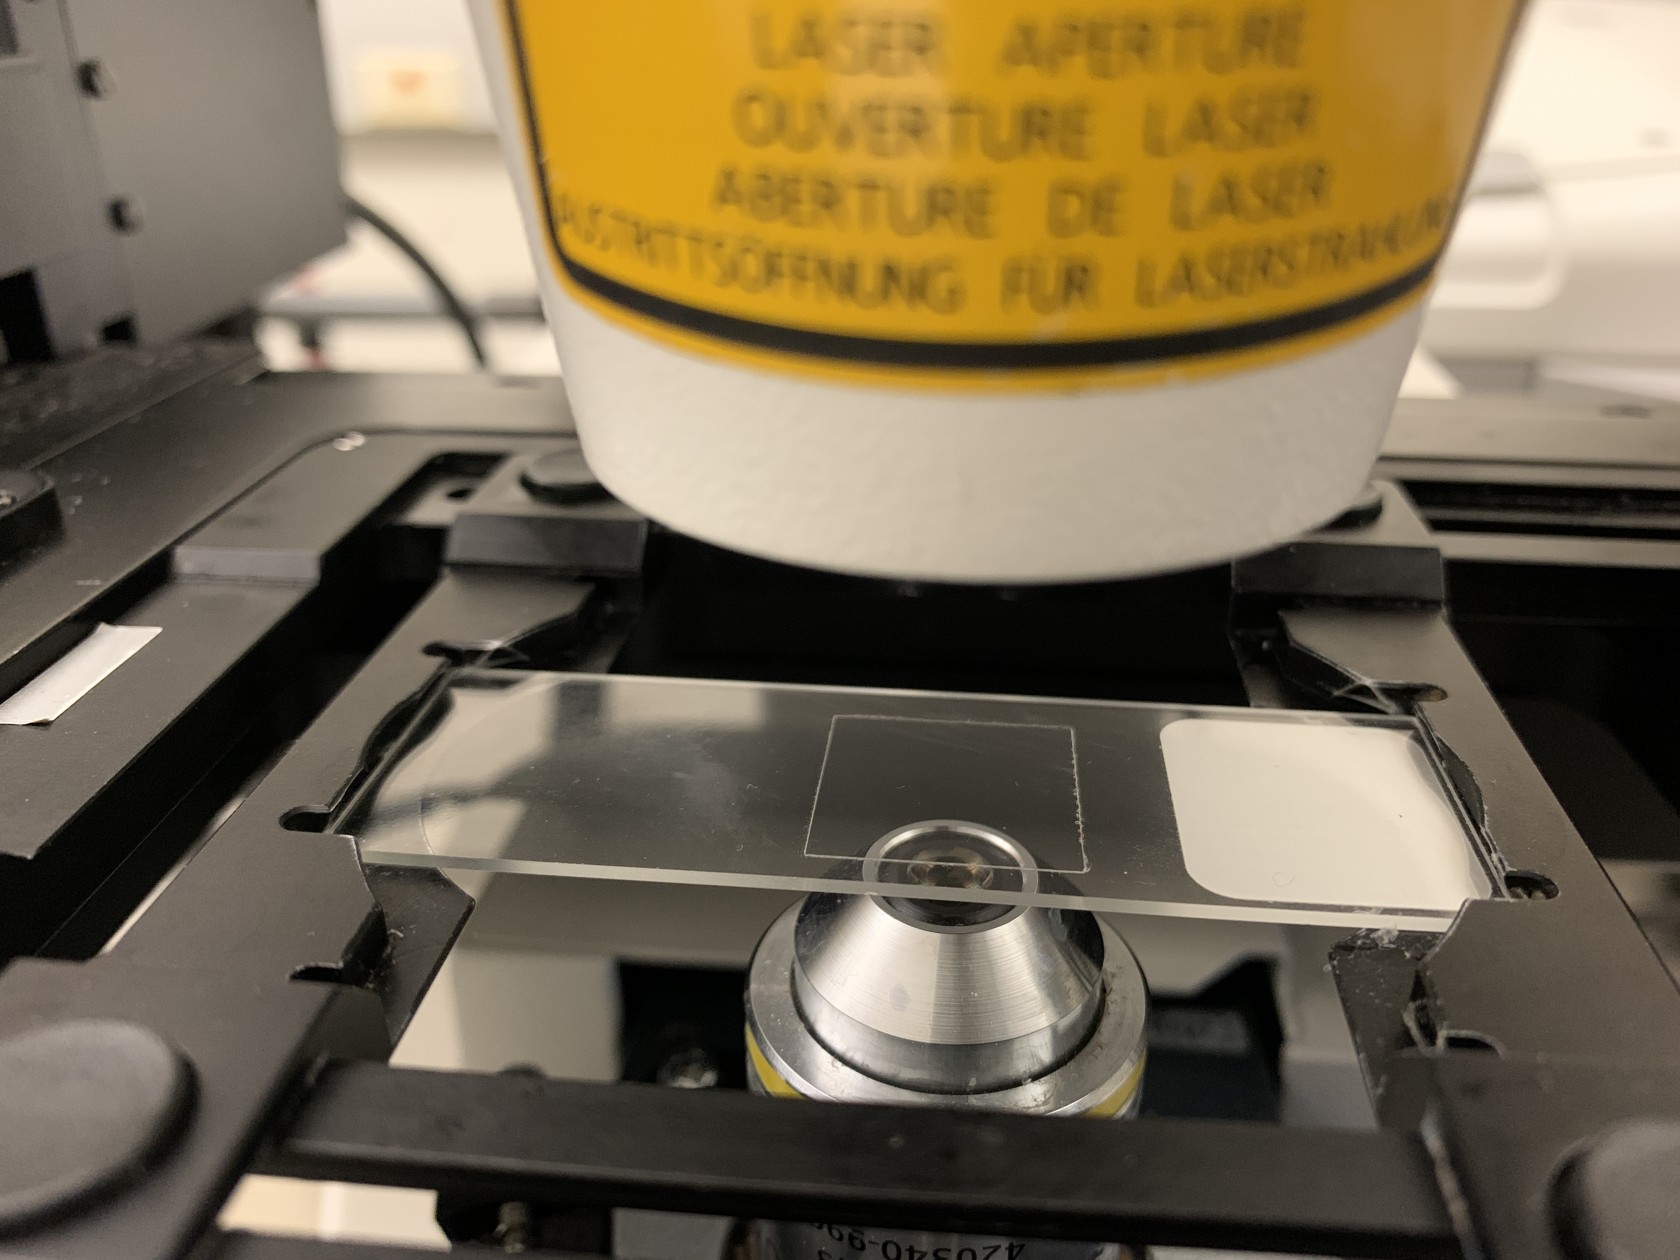
Move the sample to holder to the correct position for either a slide or a 35mm dish. Make sure to load the sample with the coverslip facing down (towards the objective). If you need to use the 40x or 63x objective add a drop of water or immersion oil to the objective lens. After placing the sample on the holder, press the upper button on the focus know to return the objective to the working position. Lower the microscope arm (there is an interlock that will prevent the laser from turning on if the arm is in the raised position).
Locating Your Sample
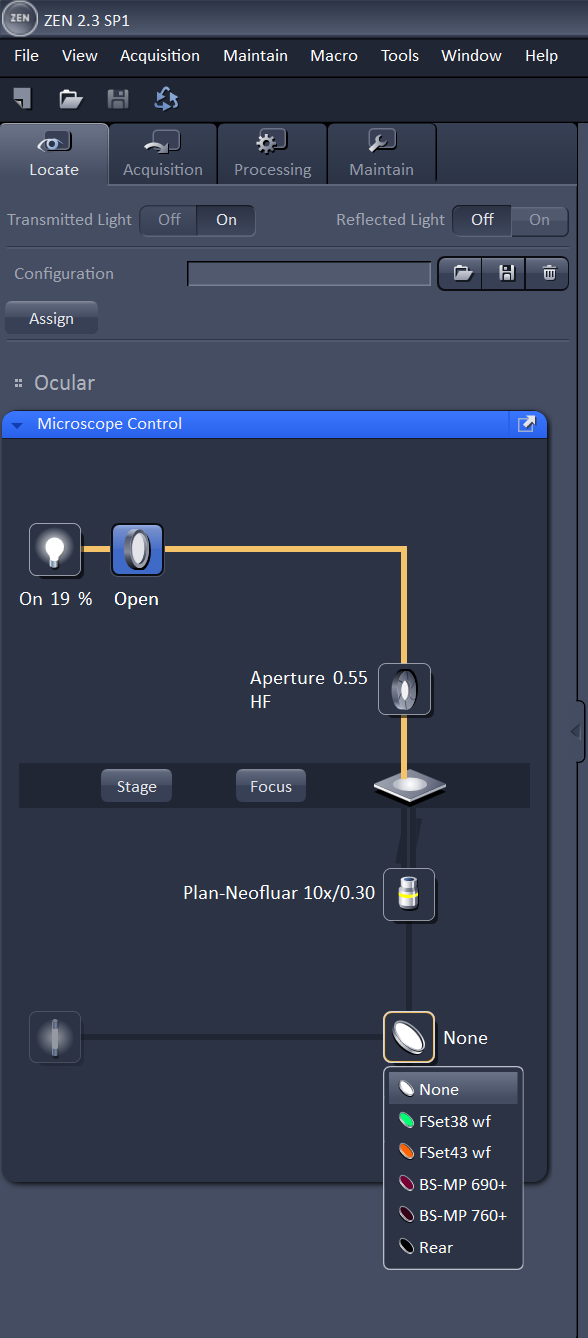
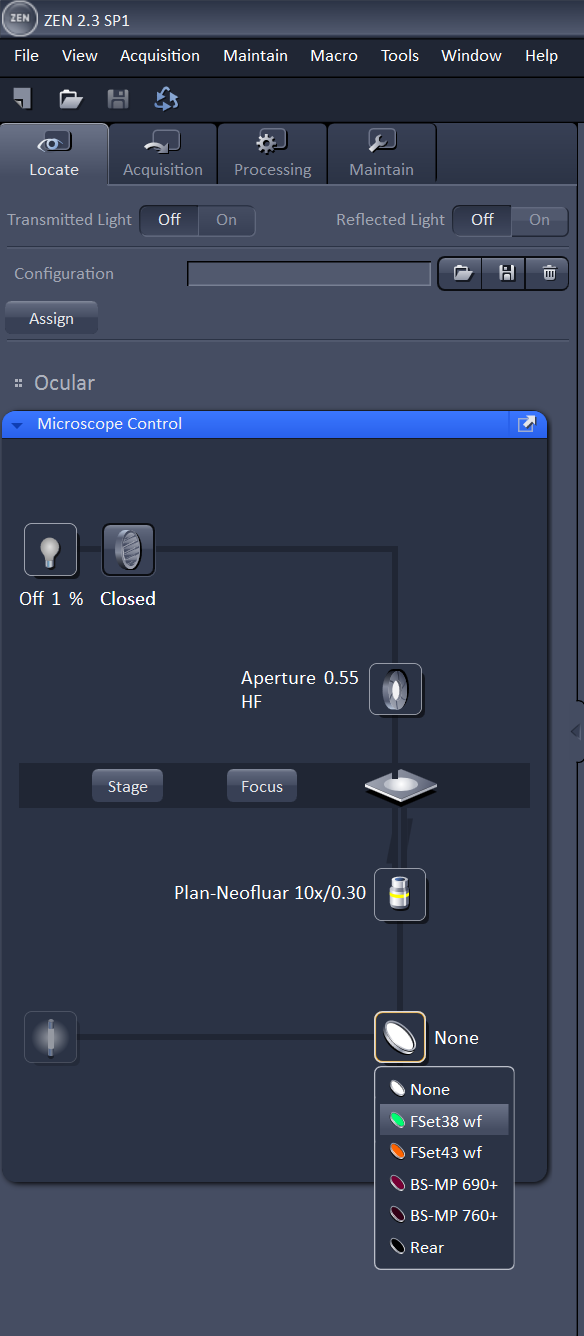
On the computer, login with your IGB account and password, and open the Zen program. Select "Start System" from the options it presents you. Wait for Zen to load all the components and connect to the microscope. Zen will present you with four tabs at the top: Locate, Acquisition, Processing, and Maintain. It will start you in the Locate tab; this will allow you to find the sample in the eyepiece. To find the sample in bright field, turn on the lamp, transmitted light (TL) shutter as shown below in the image on the left. You will also need to choose the empty filter from the filter turret. After those items are selected, You can look in the eyepiece and adjust the course or fine focus know to find your sample. To find your sample with the 488 or 561 filter, close the TL shutter and switch to the green or red filter as shown in the picture on the right. If you don't see blue or green light coming from the the objective, check that the manual shutter on the X-cite lamp is open. Use the focus knob to find your sample in the eyepiece.
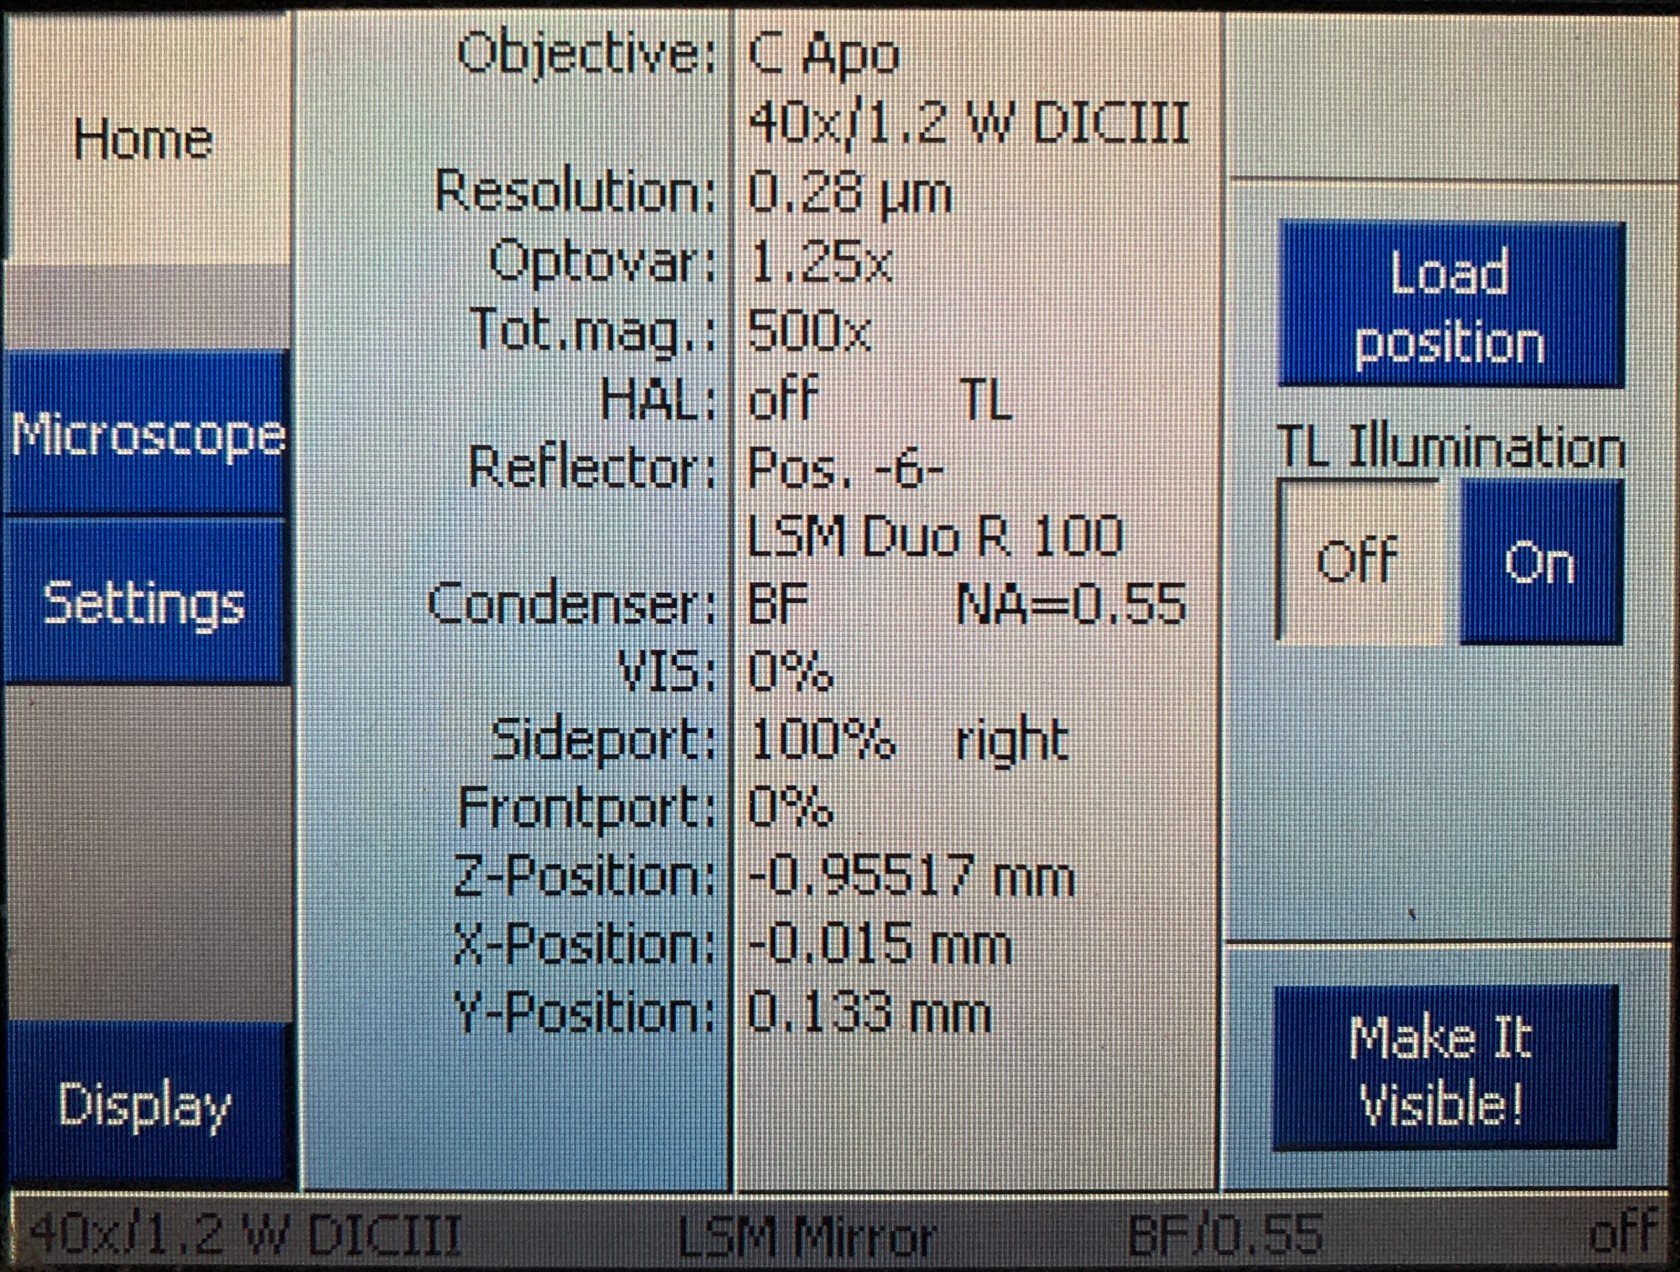
You can also use the touch screen to control these settings and view the sample in the eyepiece. The main menu on the touch screen will display information about the objective and stage position. There is also a button labeled "Make It Visible" that will put the microscope directly into a bright field configuration so you can view the sample.
If you press the microscope button you'll be able to select the objective and reflector. Once you have found your sample in the eyepiece, you can move on to setting up your scan.
Setting Up Your Scan
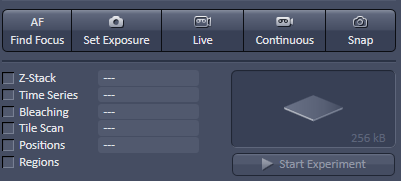
Once you have located your sample in the eyepiece, click the acquisition tab (not the menu item at the top). This is where you will setup the parameters for your image. Zen will show you a series of menus, the four most relevant (Lasers, Imaging Setup, Acquisition Mode, and Channels) will be open and the rest will be collapsed. We will go through the four menus needed to setup a scan. Also, we will be using the live and snap buttons at the top of the screen as shown below.
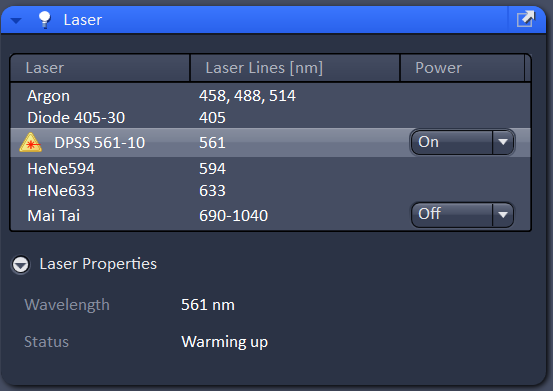
In the laser menu, turn on the 561 laser is you need it. The laser properties menu will show you the status of the laser, it should say either "connected" or "warming up". If it says "inaccessible" please contact the core staff.
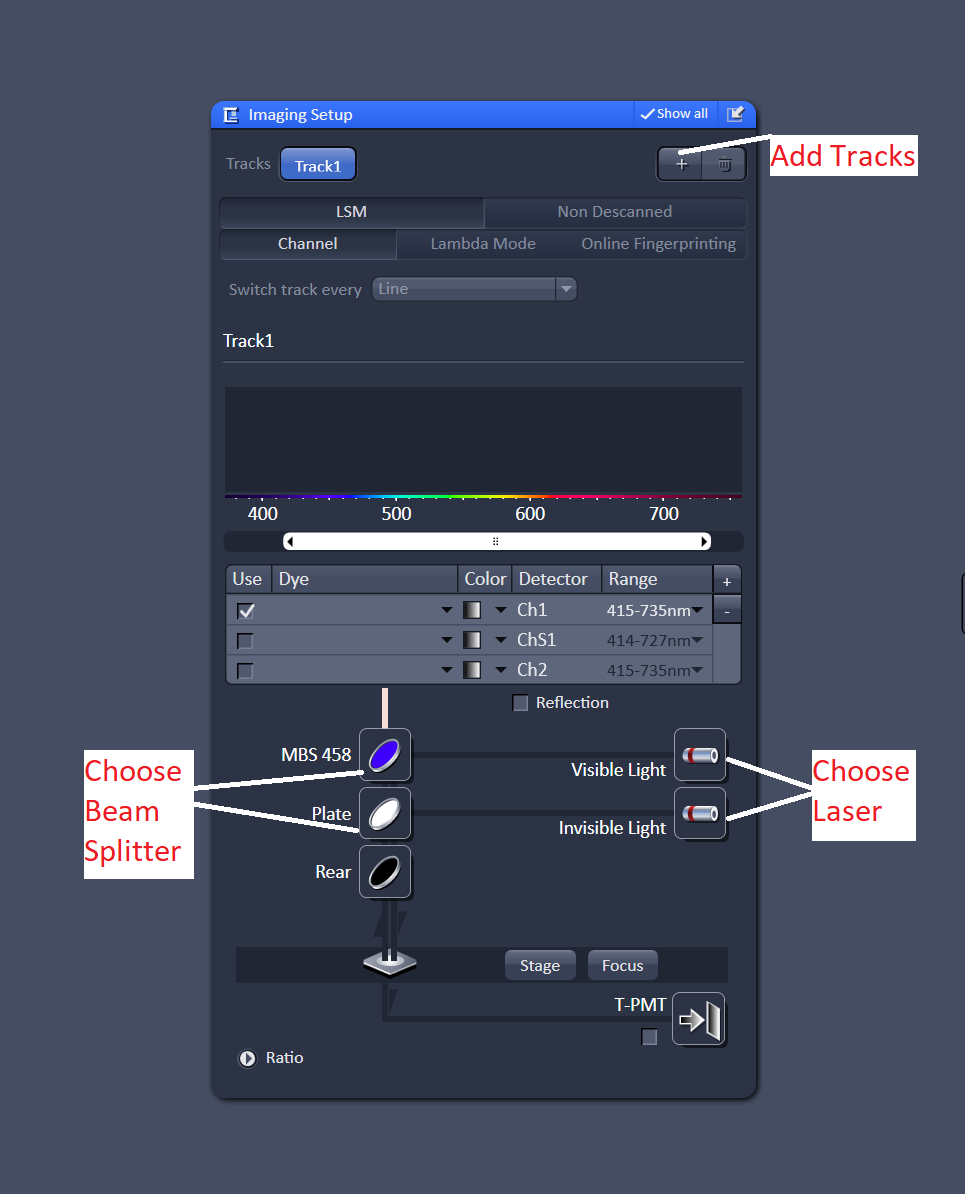
Once the lasers are on. You can proceed to the "Imaging Setup" menu. Press the "+" button to add a track, you'll want to add a channel for each dye in your sample. You can have up to four tracks. I'd also recommend changing the "switch track" option from line to frame. Switching the track every line requires that all of the optics in the light path be fixed, if you aren't careful this can be frustrating.
For each track choose a laser. Then choose a beam splitter (dichroic filter) that matches the laser line. For example, if you are using the 488nm laser, choose one of the beam splitters labeled for 488nm.
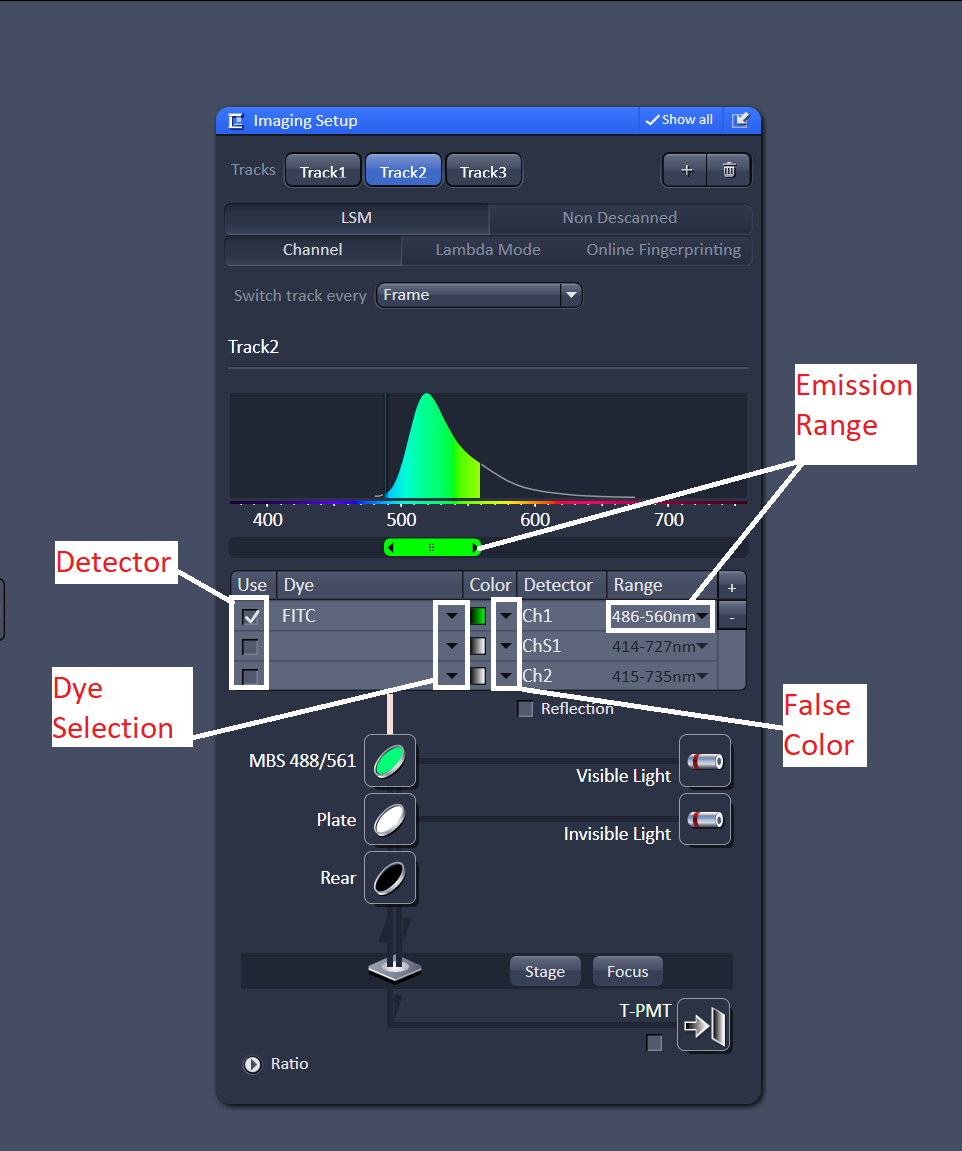
Next, select the detector you want to use. By default channel 1 is selected as the detector. As long as "switch track every frame" is selected you can just leave the detector as channel 1. Choose a dye from the database, this will display the emission spectrum of the dye. Adjust the emission range so that you are collecting most of the light from the emission spectrum. Repeat this for every track - one track for every dye in the sample.
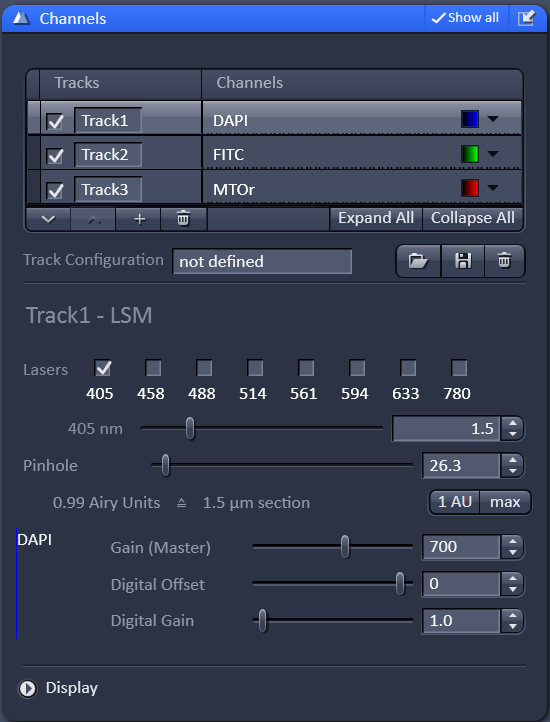
Once the tracks are all setup, move on to the channels menu. At this point it is worth noting that "tracks" refer to the light path setup and "channels" refer to detectors. There are cases where you might want to do more than one channel per track, but for now we will just focus on using on channel for every track.
For each channel you will need to adjust the laser power, gain, and pinhole size. Start by setting the gain to 700. Raising the gain


