LSM 700 Basic Operation
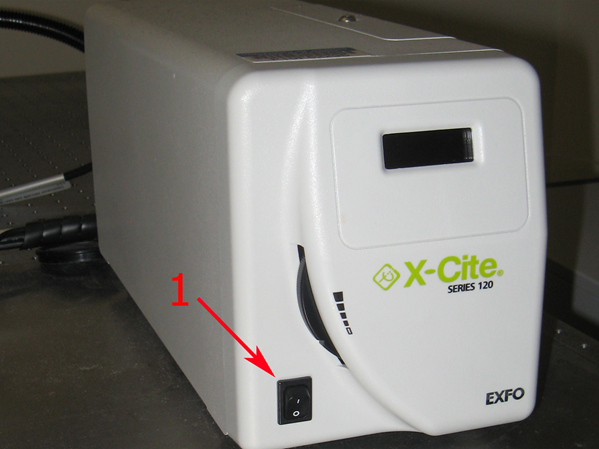
Startup
Visual Operation
Loading a slide (#1.5 cover slides are the best)
- Set the objective to 10x using the touch pad on the microscope (recommended to always focus first on 10x – as the objectives are parfocal you can then go up in magnification as necessary while remaining in focus).
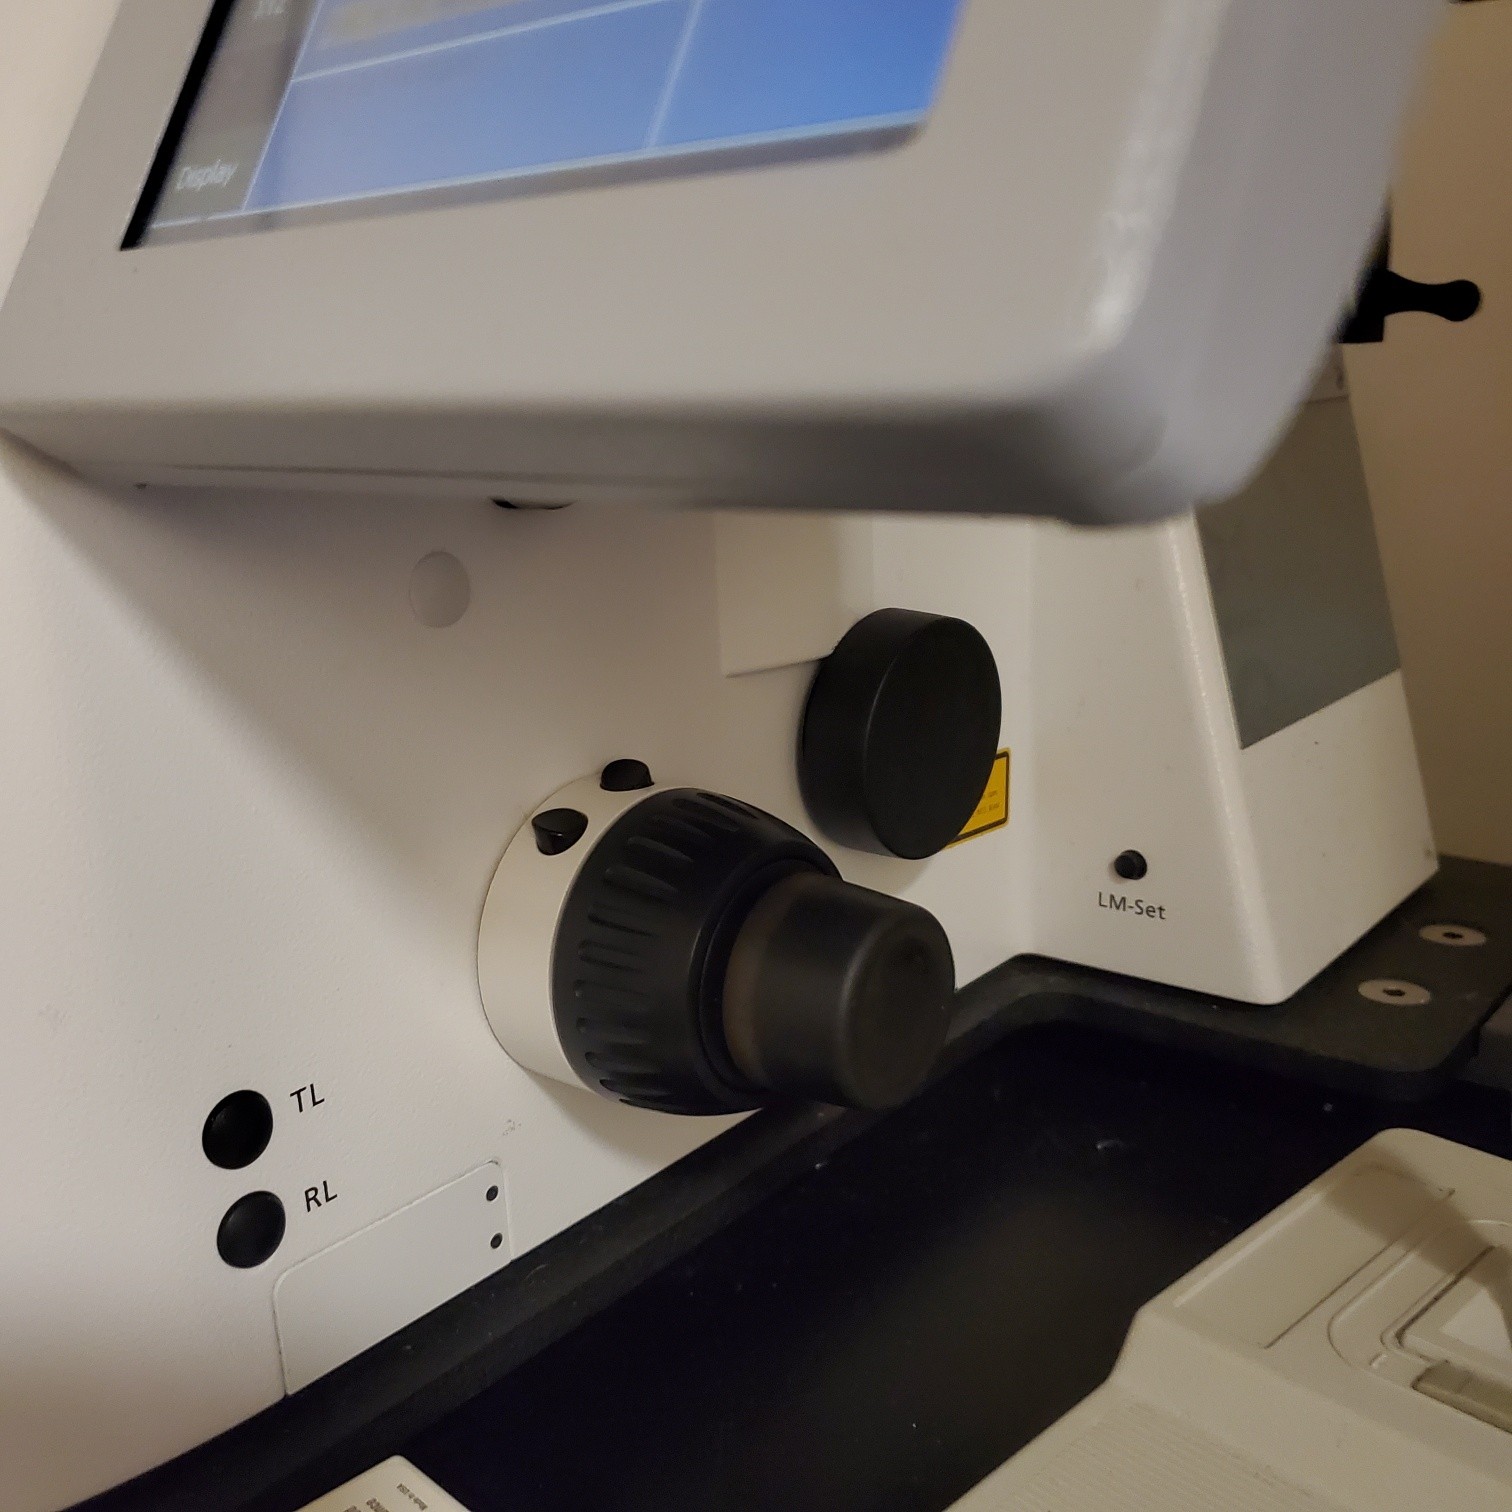
- Click on load button on knob attached to microscope [Microsope] [Load position]
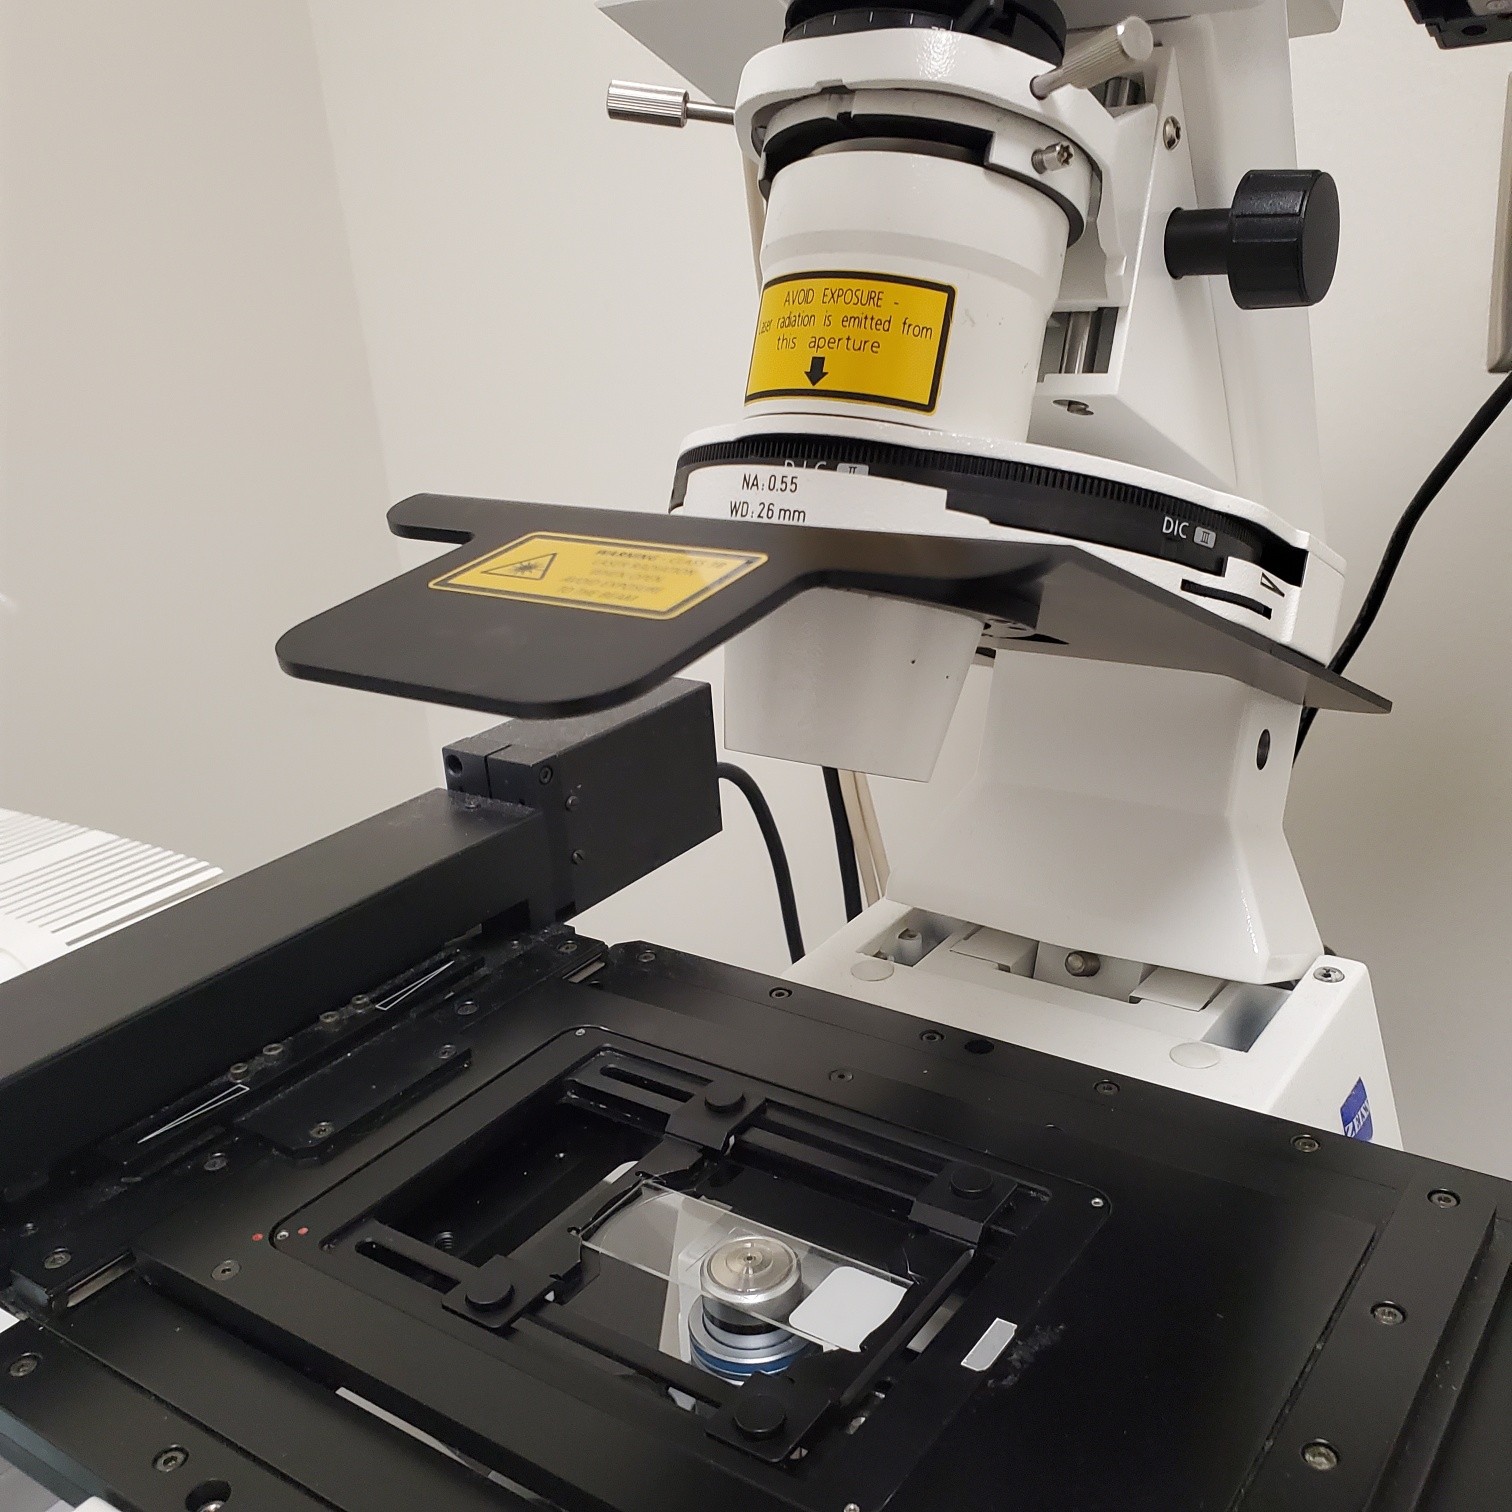
- Tilt transmitted light source back by placing one hand on the back side of the base of the eyepieces and one hand on the white part of the transmitted light source.
- Load the slide into the slide holder cover slip down (to move the sliders apart press down on both buttons slide as necessary)
- Click on working position knob [behind load position] to return to working position – Be careful to make sure the slide does not run into the objective (this is why you should always focus on 10x first)
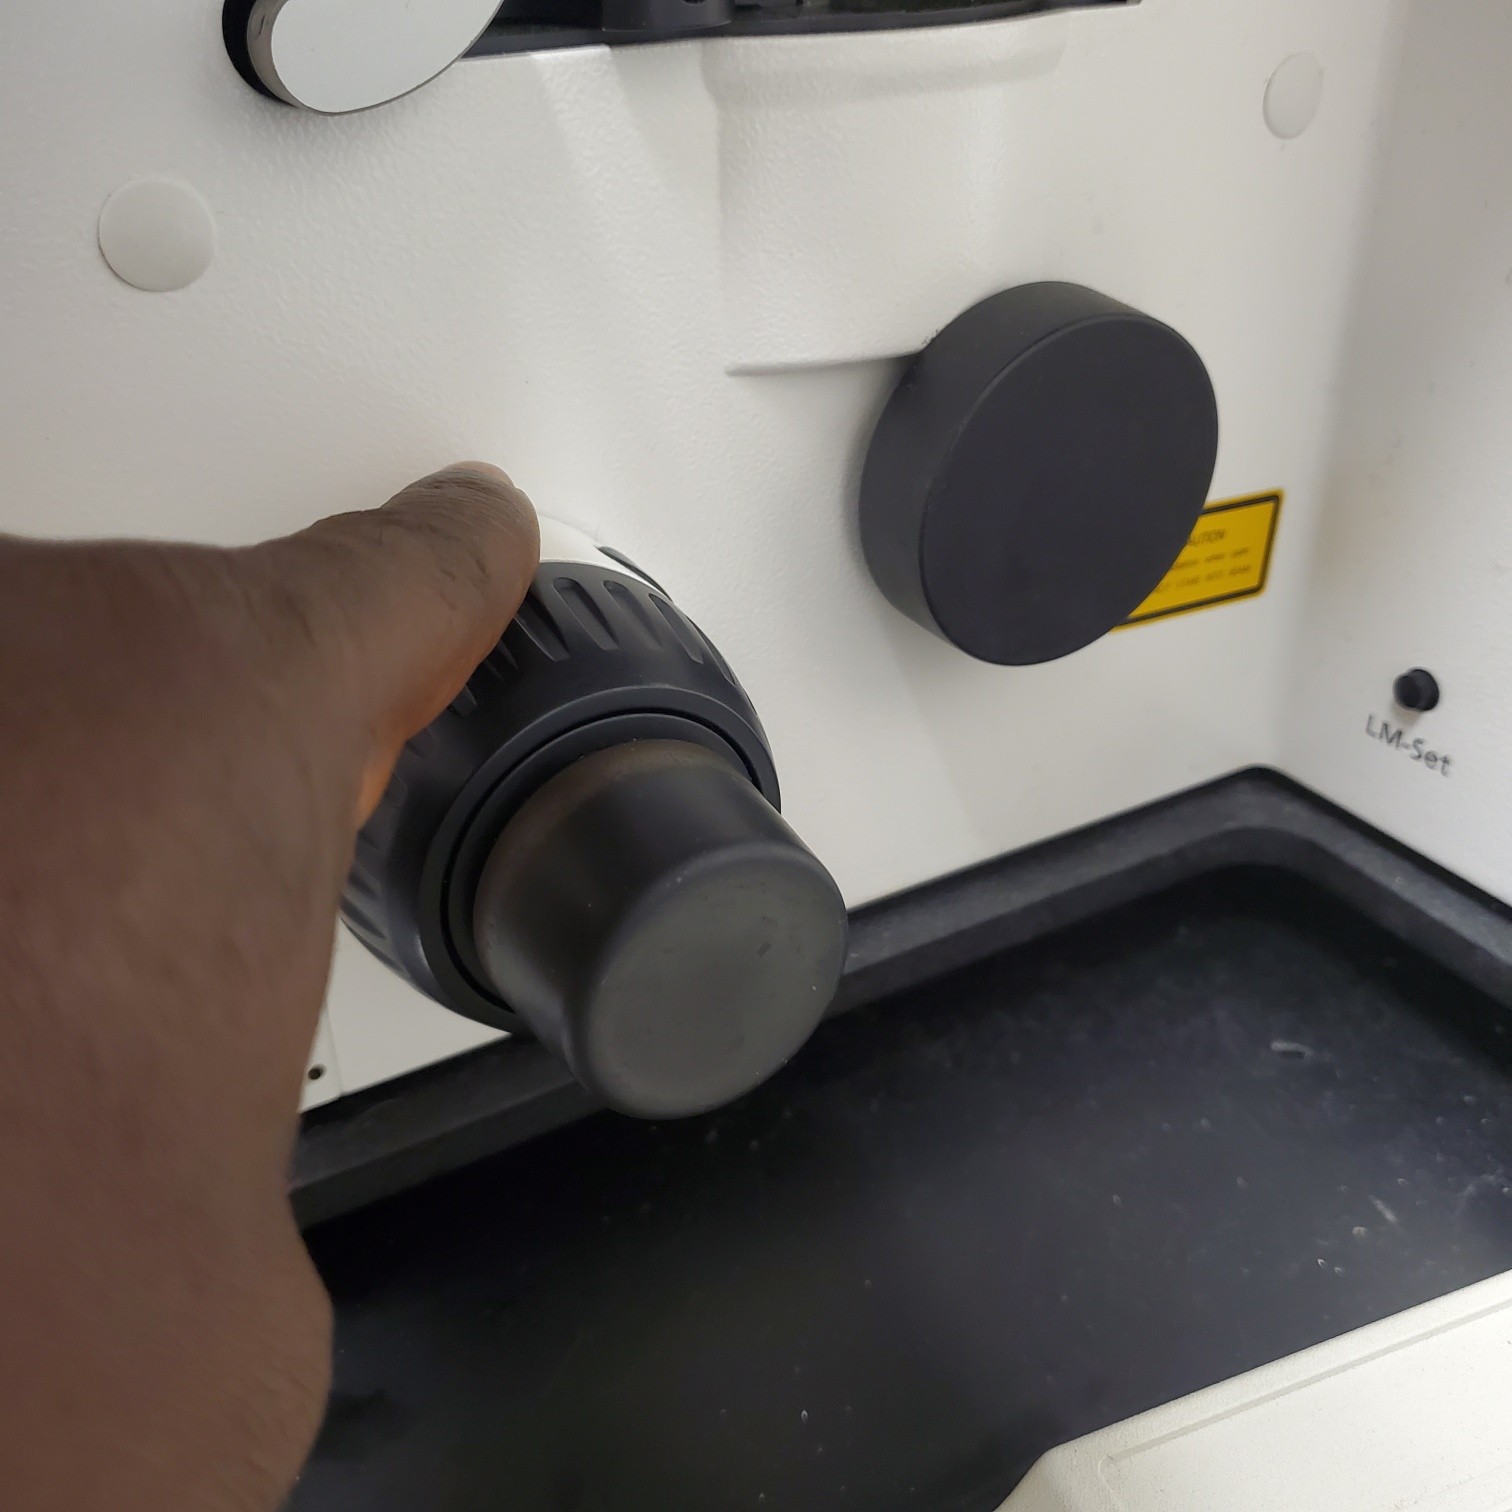
Note: Do not depend on the preset load and work settings. Samples and slides of different thicknesses may have been used by the previous investigator.
- Tilt the transmitted light source back into place
- Focus on your sample by using either transmitted light or fluorescence:
- This can be done in a number of ways:
- § Method of choice - In Zen Select [Locate]
- Select [Online]
- Select the desired fluorophore or transmitted light
- Locate region of interest and focus the samples
- Select [Light Off] to prevent bleaching § Using the touch pad on the microscope §§ Using the buttons on the microscope itself and touchpad. Choose TR (transmitted light) or RL (reflected light and the filter: DAPI/ 488 /Rhod).
- Focus the specimen. With coaxial knob you can move the sample on the x-y level.
- Change the objective as necessary for your imaging.
- To add oil (only for the 40x and the 63x) –
o remove the slide
- Open the lid of the bottle and scoop some of the oil with the plastic oil probe.
- Turn it sideways (so that the longest edge is vertical) – there should not be oil dripping
off of it
- Move it over the objective and turn it flat – one drop should fall onto the center of the objective
- Never touch the oil probe to the objective
- If you need to return to a lower magnification from an oil objective you must use the 10x. (The 20x has a short working distance and will get oil on it, which is bad for the objective and will hinder imaging with it. Additionally, the 20x objective is a high NA objective and is therefore expensive)
Imaging
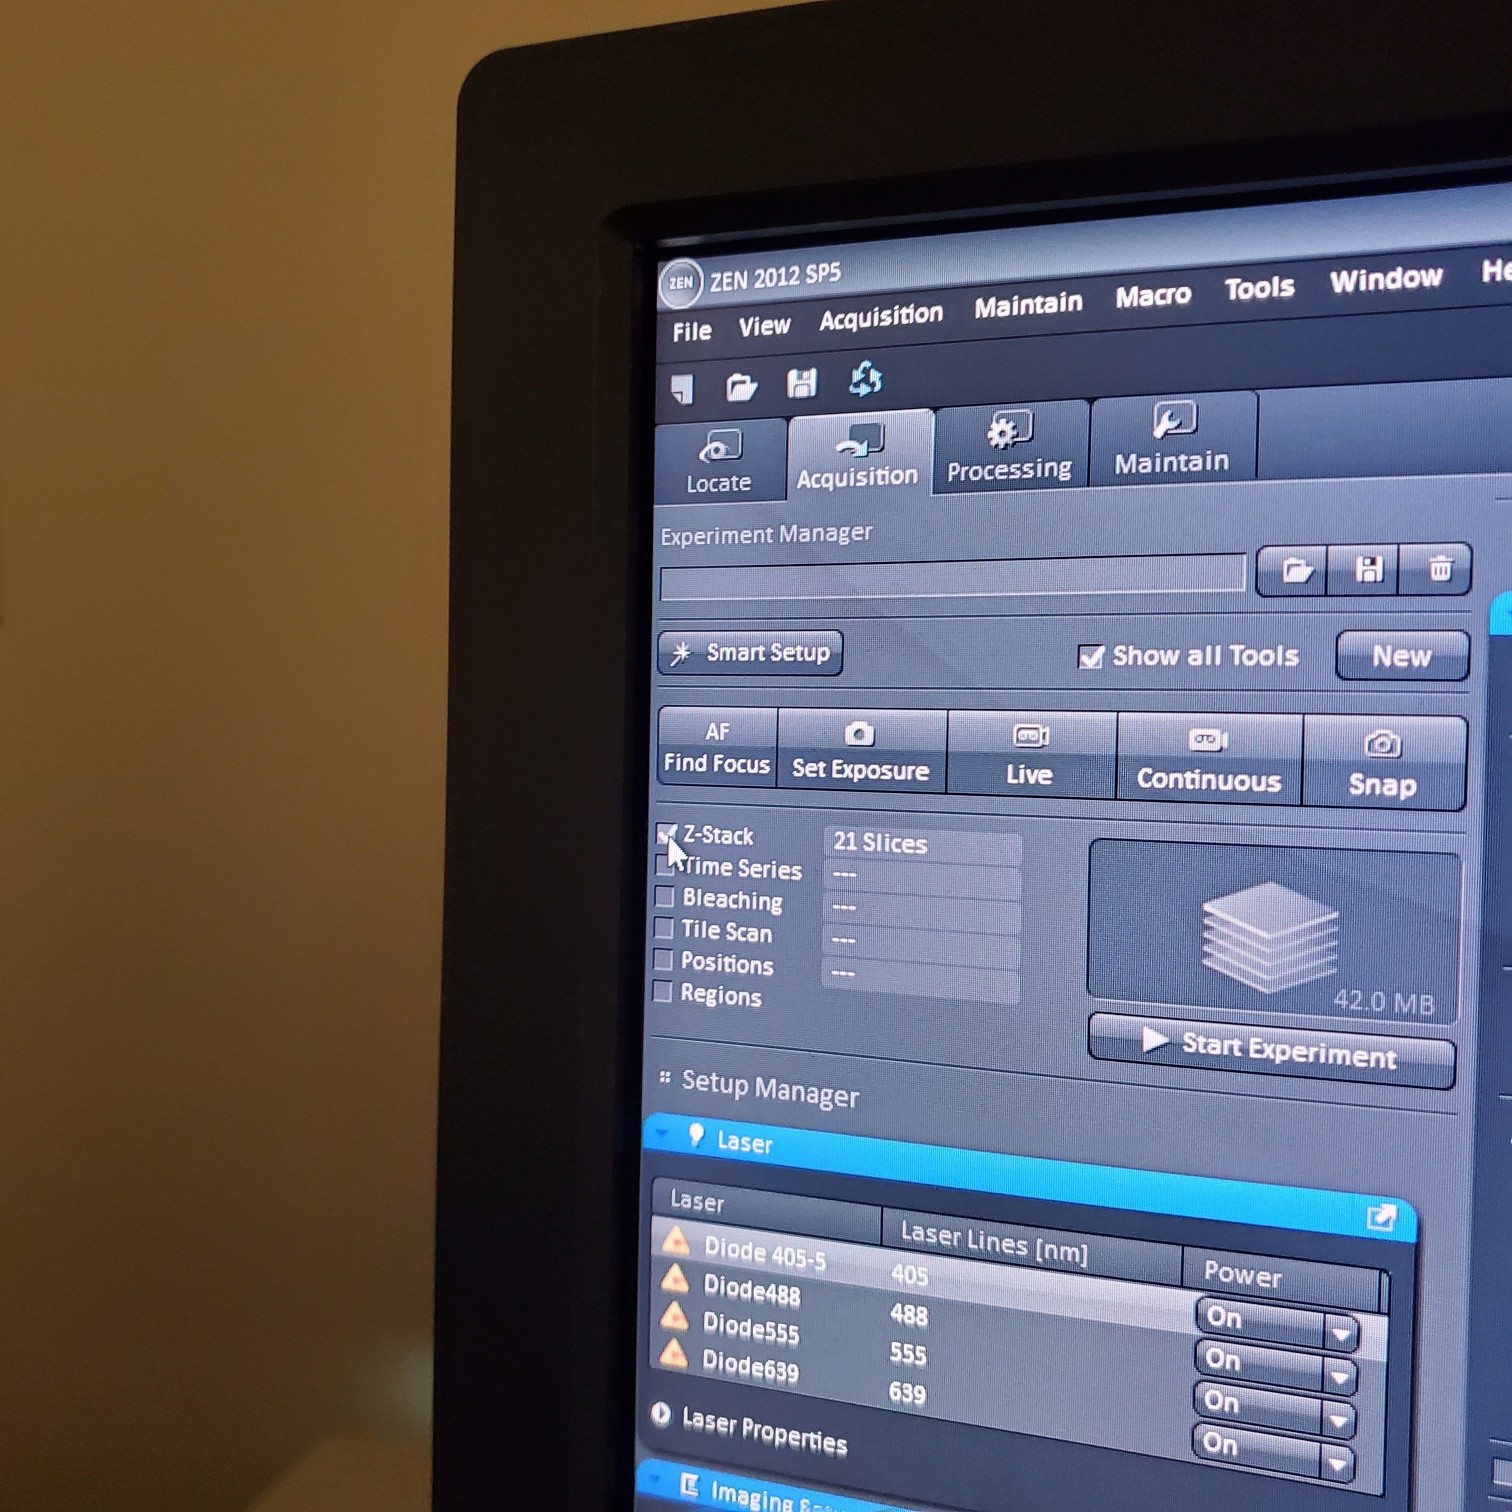
- Select [Acquisition]
- Load a user profile image file Select [Reuse] or use [Smart Setup]
- Select [Dye], select show all, click on arrow and pick dyes (do this for each fluorophore your sample is labeled with). This is where you pick the pseudocolor for each channel.
o Pick imaging sequence:
- § Fastest: 2 channels per track (meaning 2 channels are imaged at the same time with 2 PMTs)
- § Best = slowest: each channel is in its own track and is imaged separately (this prevents bleed through)
- § Best-compromise = some channels are in a track together and others are in their own tracks (medium time to get image)
- Select [light path]: select track (if not showing click show all manual settings towards the top left of the software window)
- If possible it is best move the VSD (variable secondary dichroic) to be at the same nm for all the tracks
- § VSD is the white vertical line on the wave length graph and the nm is listed under
Split
- You can use filters (show all and click on the arrow in the center of the colored bar below each emission spectra to see the filter options) to further narrow the emission collection
- For acquisition o Settings will depend on your sample. A good starting point is:
- Scan mode: Frame o Frame size: 1024 x 1024 o Line step: 1 (always!)
- Speed: 7-9 o Average: 1-4 o Mode: line
- Method: mean o Bit depth: 8 -16 bit
- Unidirectional scanning (arrow points in only one direction) or Bidirectional scanning makes imaging faster.
- For scan o Select one track by unclicking the other tracks o Live: center, orient and focus samples (use one track) o Turn on all the tracks
- In the [Channels] menu adjust the [laser power], 2% default (1-5% is usually all you will need), and [pinhole, 1 airy unit – 1 AU]
- Select [Live]
- Select [Dimensions]: (sometimes this is easier to do with one channel or track selected at a time)
- § use range indicator mode (click on color of channel and it will automatically switch to this or by clicking the color field in the View-Dimensions you get the scanned image in a false-color. Red color indicates saturated pixels (maximum) and Blue = zero (minimum). To avoid saturated pixels set the laser power and gain so that the red pixels just disappear
- § split channels
- § Select one channel within a track by clicking on it (light gray bar line is the selected one)
- Focus on the brightest plane of this channel in your sample
- adjust [Gain], to just below when red (overexposed) pixels appear (you want this between 500-750; if it is too low then lower the laser power) o Gain = voltage on PMT. Higher number than you can detect weaker signals and also more noise.
o On histogram you want to shoot for 75% of the range
- Adjust [offset] – only move up or down by 1-2 to get background to blue speckles (starry night)
- [Digital gain] set to 1.0, do not change.
- Repeat for all the channels and all the tracks
- Click STOP –for stopping the current scan procedure
- To take a single image: Select [Snap] to collect the final image
- § Save image to groups-server or to drive D: user file deleted anytime folder
- § Always save as a lsm/czi file first before exporting as tiff. In CZI-format all the information and hardware settings are saved together with the image. Export -function saves the contents of the image display window including analysis and overlays in selected format
- § Do not store on drive C:\
- § Once you have moved your data to the core server please delete it on the confocal computer (any images over one month old will automatically be deleted)
- Z-stack (select at upper left)
- § Choose one track to focus
- § To optimize interval click [optimal]
- § Set the first and last
- § Re-select all the tracks
- § Start experiment (upper left window)
- § If you have a dramatic loss of brightness as you reach the end of your stack see
Tina about Auto Z Brightness Correction
- Tile Scan (select at upper left)
- § For 10 or 20x just select the size of the image
- Centered = current image is the very center of the size you select
- Bounding grid lets you scan and move to positions an dmark
- Convex hull generates an image the goes in a line from point a to point b.
- Do not try to crop a tiled imaged by the crop tool – change the size using the image size (um) at the top of the right column.
- If you see image issues, then set overlap to 10%.
- § If you are using the 40 or 63x and doing tiling set the overlap to 10%
- § Start experiment (upper left window) o Position (select at upper left)
- § Mark positions – marks X, Y, and Z.
- If you want to do Z stacks at multiple positions, then each Z stack will be the same number of slices. Therefore, you need to make the Z position setting to be in the middle of your sample and then set the Z stack to go so many microns above and below your setting.
- § Autofocus option
- Fl = fluorescence is used to find sample. Takes a stack before it images and uses the brightest plane as the center. This can cause sample bleaching issues
- Reflection = uses the transmitted light to detect the coverslip and you set the focus to be a certain number of microns above the converslip.
- If you sample is sloshing around in liquid – none of these autofocus options will really help
- Bleaching = photomanipulation (select at upper left)
- § Time series and regions windows open by default
- § Scan image
- § Select the [Regions] and click show all:
- Draw desired shape or shapes
- Do not check acquisition box or you will only image the bleached region
- The scope will scan the whole way across the X direction and only bleach the region boxed. This means your box should always be longest in the X direction (you can always rotate your sample).
- Zoom Bleach – doesn’t scan all the way across in the X direction so it is faster, but less accurate.
- § [Bleaching] and click show all:
- Check start bleaching after a number of scans (2 is good)
- Set - Repeat bleach after # of scans (pick a number)
- Set - Stop when intensity drops to % starting intensity (after this it will no longer bleach, but it will continue to image)
- Iterations – 20-100 is a good place to start (this and laser power are the points to adjust)
- Select laser to use to bleach and laser power (25%)
- § [Time Series] and click show all
- Select number of cycles = number of time points.
- Leave interval at 0 – usually you want to see this as fast as possible § Notes:
- In the gallery view, the green boxes mark the upper left corner of the image that was taken before the bleach.
- We currently do not have the analysis plugin for FRAP – you can analyze the data in Image J or metamorph.
- Please note that when you select a region it will scan across the full X and only bleach in the region of interest. So if you have an oblong or rectangle region you want to bleach it is fastest to orient the longest part along the X plane.
When your session is done, make sure:
- You have transferred your files to IGB group server / lab folder
- Clean oil off 40x and 63x objectives with lens paper not kim wipes.
- Return to 10x objective
- Follow shutdown procedure
Shutdown
Check calendar to determine if someone is scheduled after you (within 1 hour).
IF Yes:
- Turn off the software and logout
IF No:
- Exit the Zen software and log off computer
- Turn off laser lamp
- Don’t turn of the microscope or anything else.
If you have any problems:
- Always report any problems to Core Staff
Viewing and Processing Data
To view and process you images, ZEN 2012 lite freeware is available in www.zeiss.com/lsm. Fill the form and you will receive a link for installation via email

