BookitLab Guide
User Guides for basic uses of BookitLab
- Reserve Instrument Time
- Initiate Usage (Cryostat/Microtome/NMR)
- Purchase a Consumable
- Logging in to your reservation
- Accessing the Core-Server
Reserve Instrument Time
Reserve Instrument Time (Quick Access)
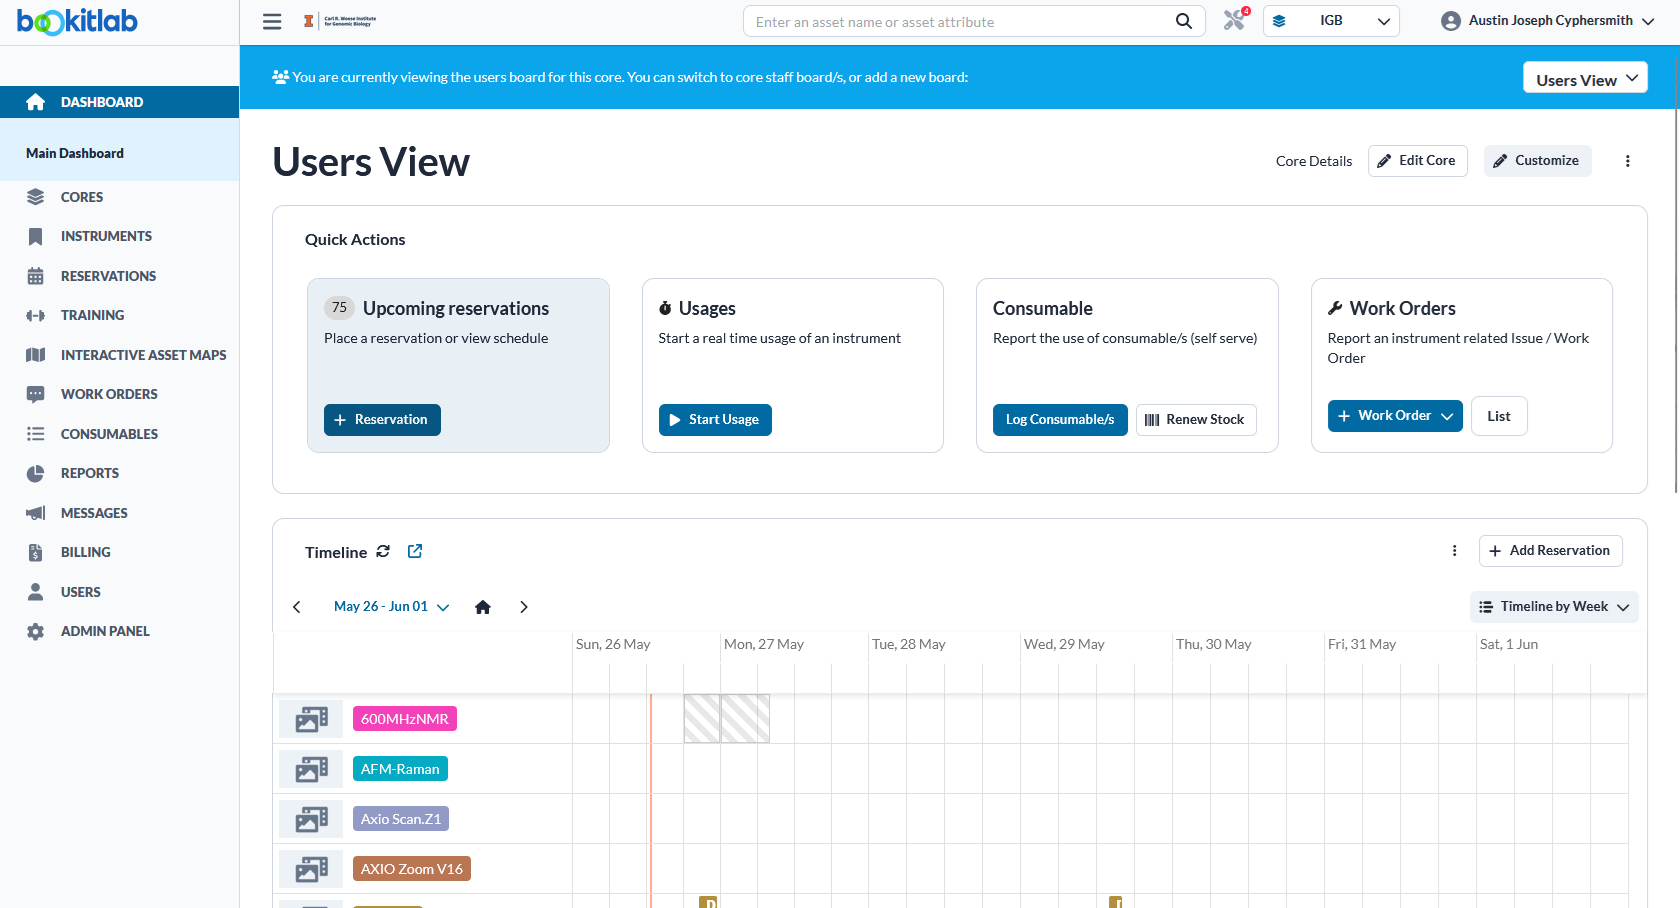
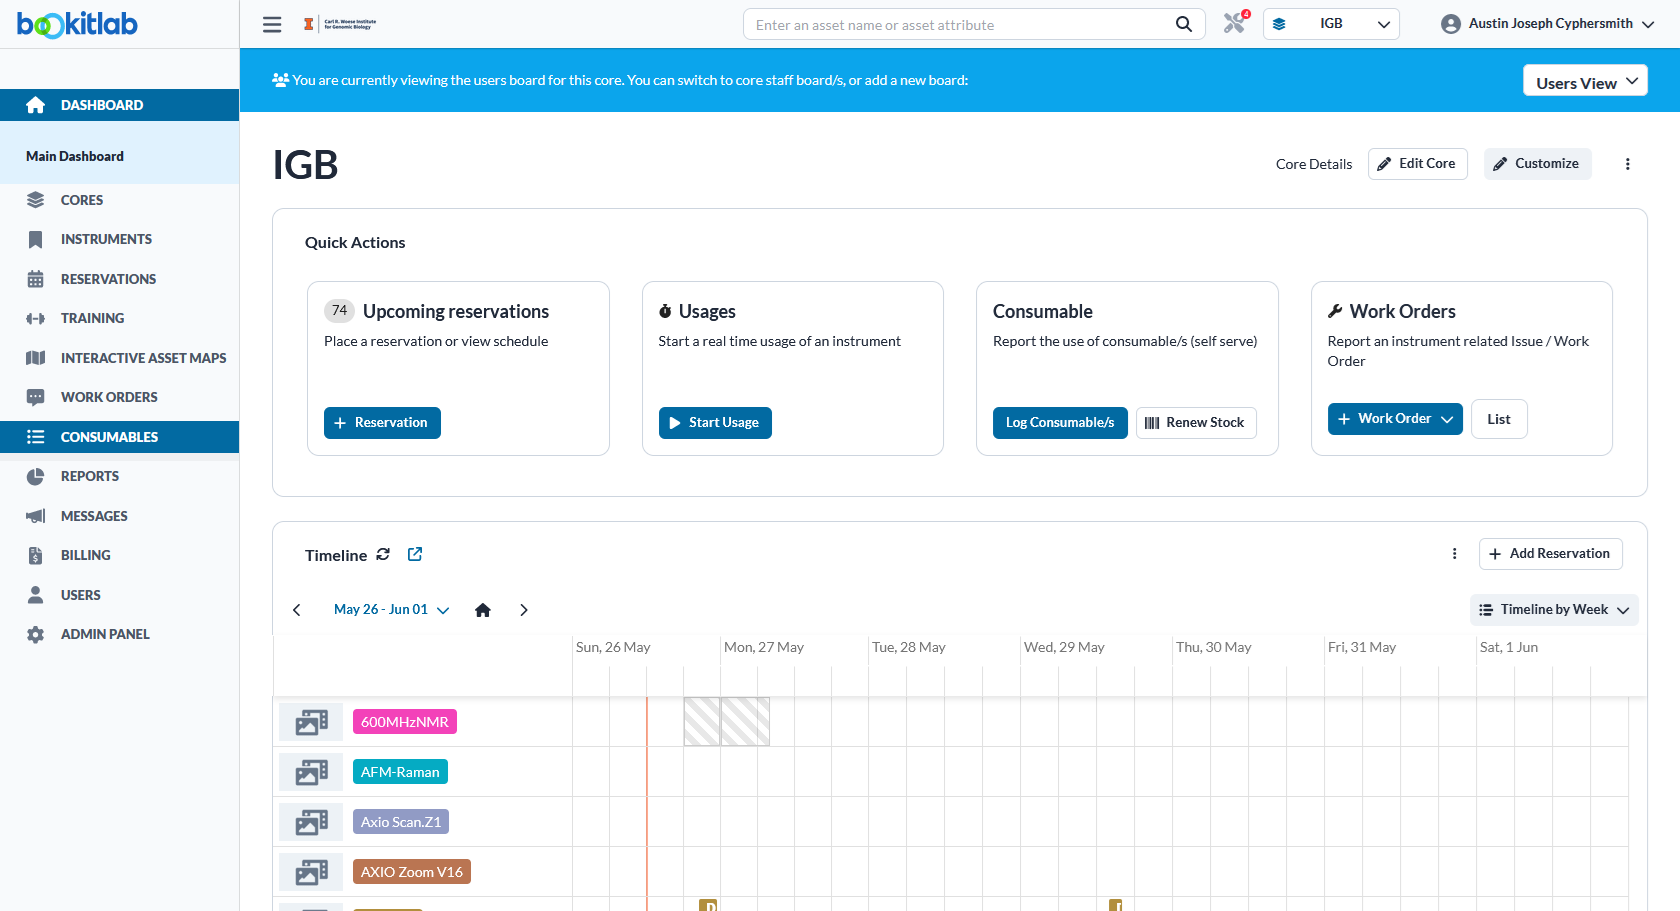
On the Main Dashboard you will see Quick Action Widgets
Choose the +Reservation button on the the Upcoming reservations widget.
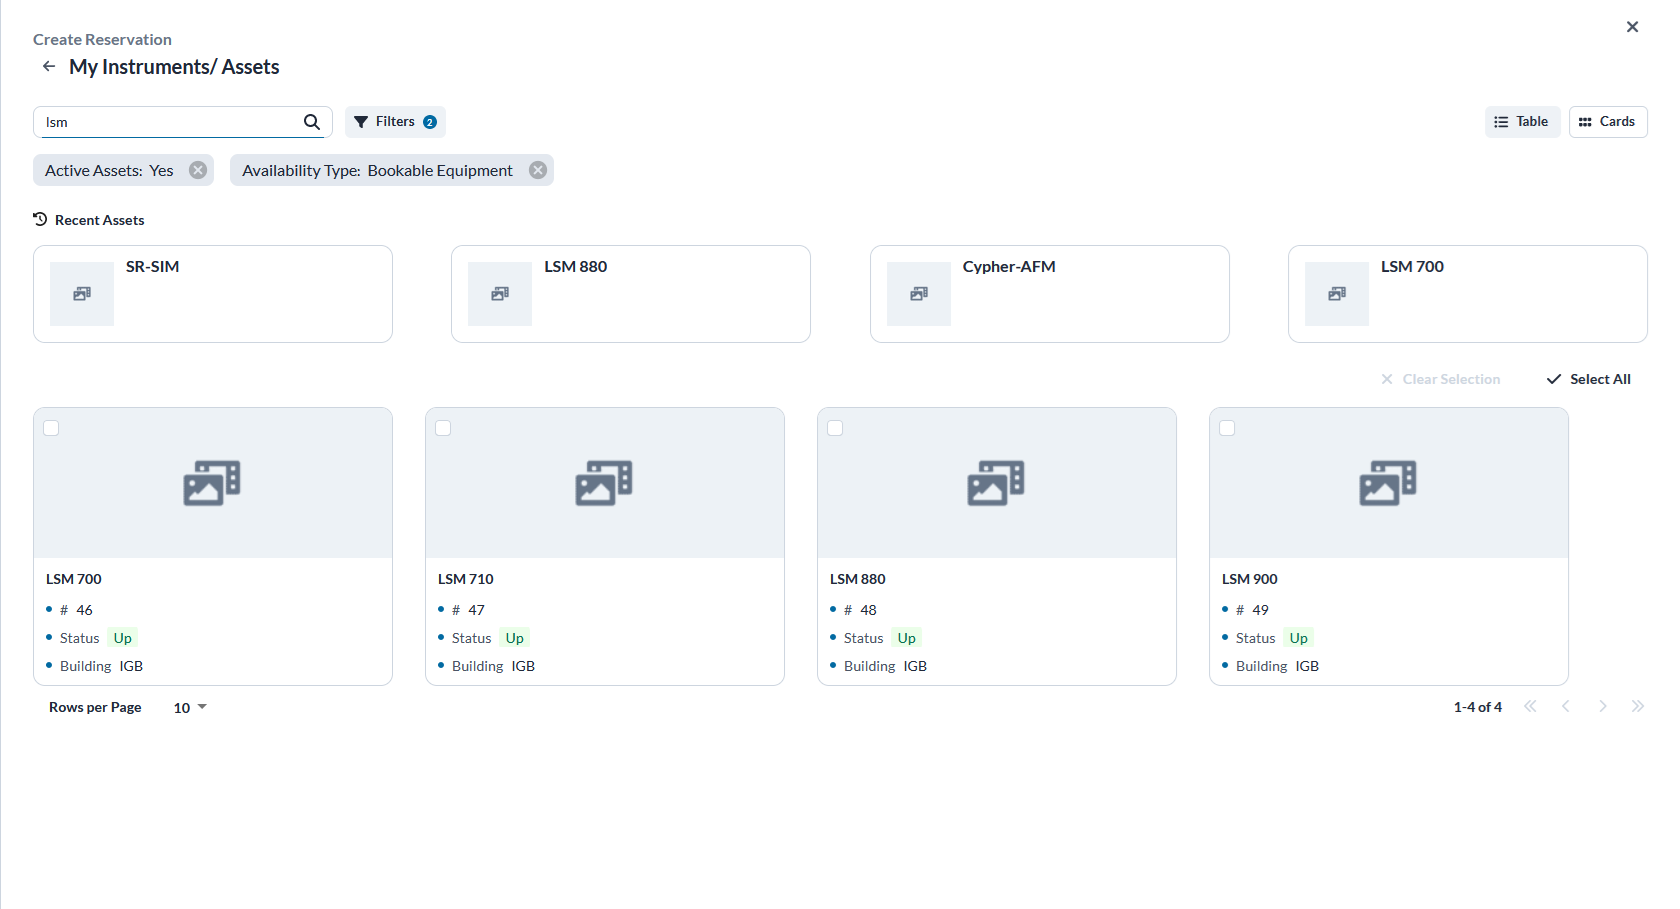
Choose the instrument you want to reserve time on. You may need to add a filter and select/type the name of the instrument. The table view will also show a more comprehensive list if instruments.
The calendar with the instrument's current reservations will be displayed. On the right you will see the add reservation panel. Here you can add the date and time that you want to reserve. Choose the correct User Group (this is your PI), your user name, Internal Billing, and the Project Name (this is your CFOP). Then choose save.
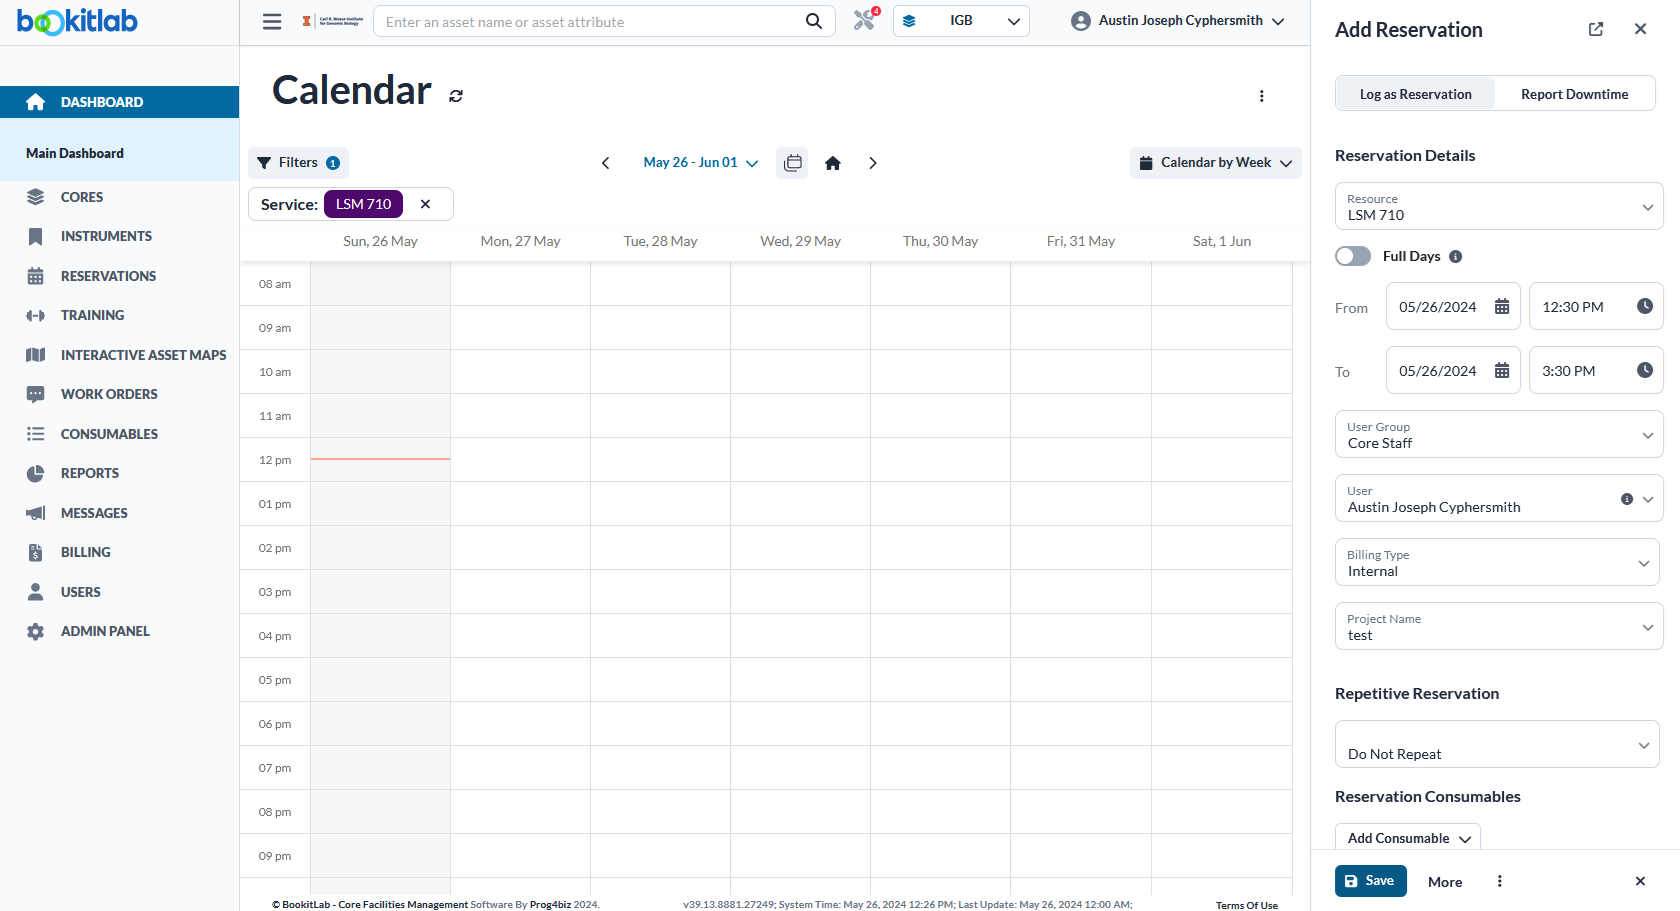
If you cannot find your CFOP listed in the Project Name drop down, please contact the core staff.
Reserve Instrument Time (Side Menu)
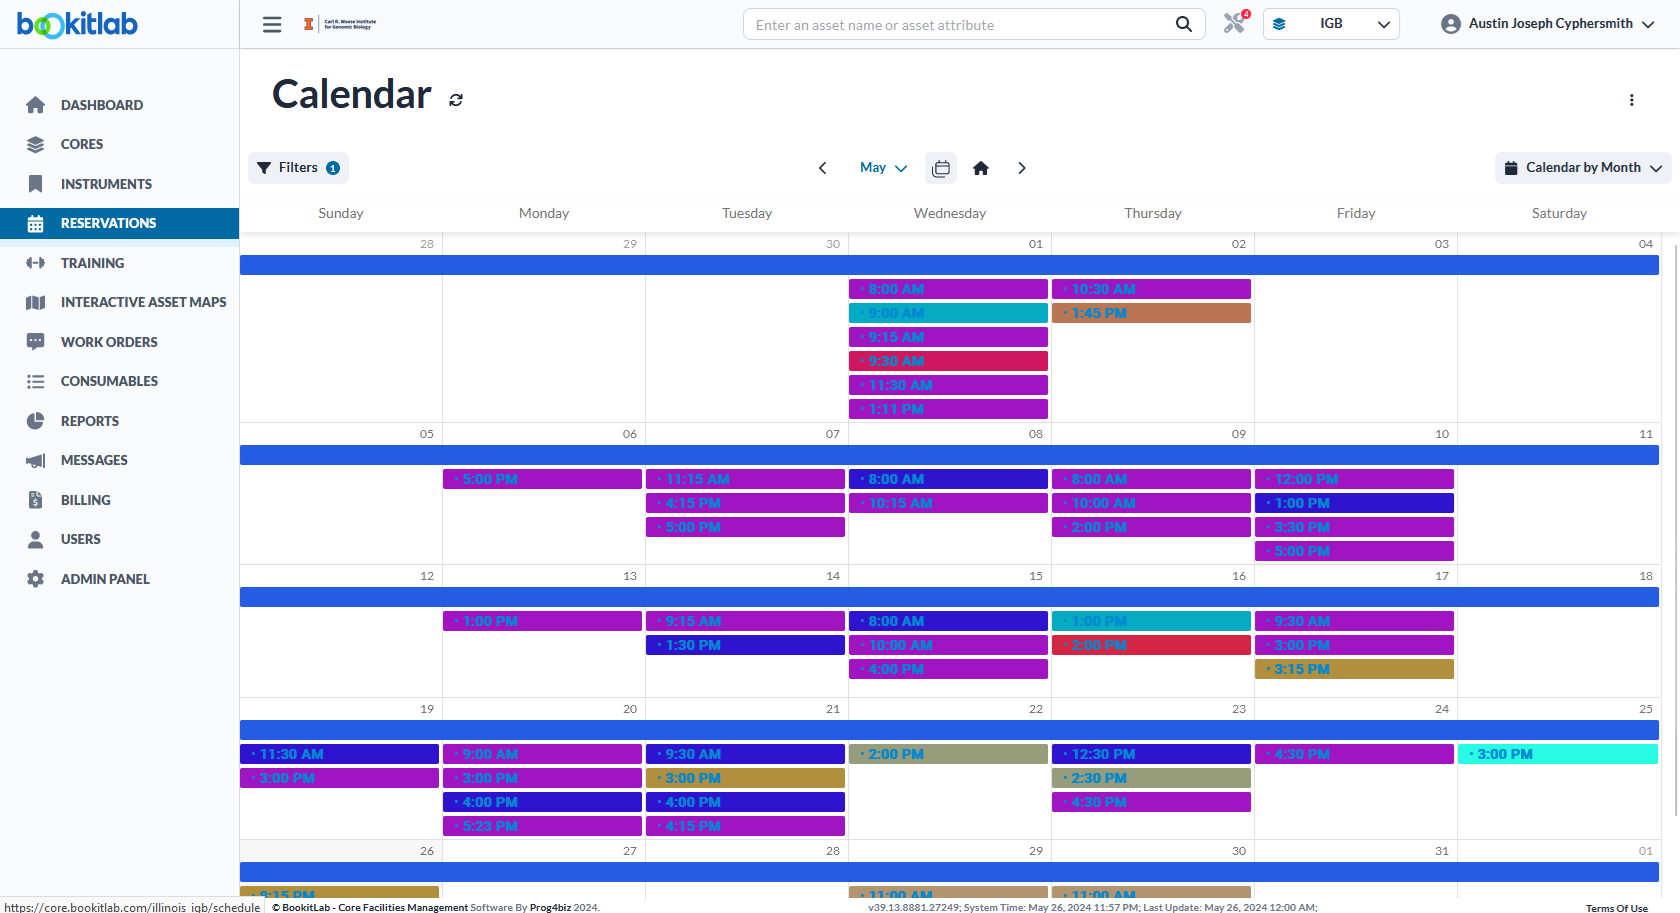
Click on the Reservations Tab on the menu to the left.
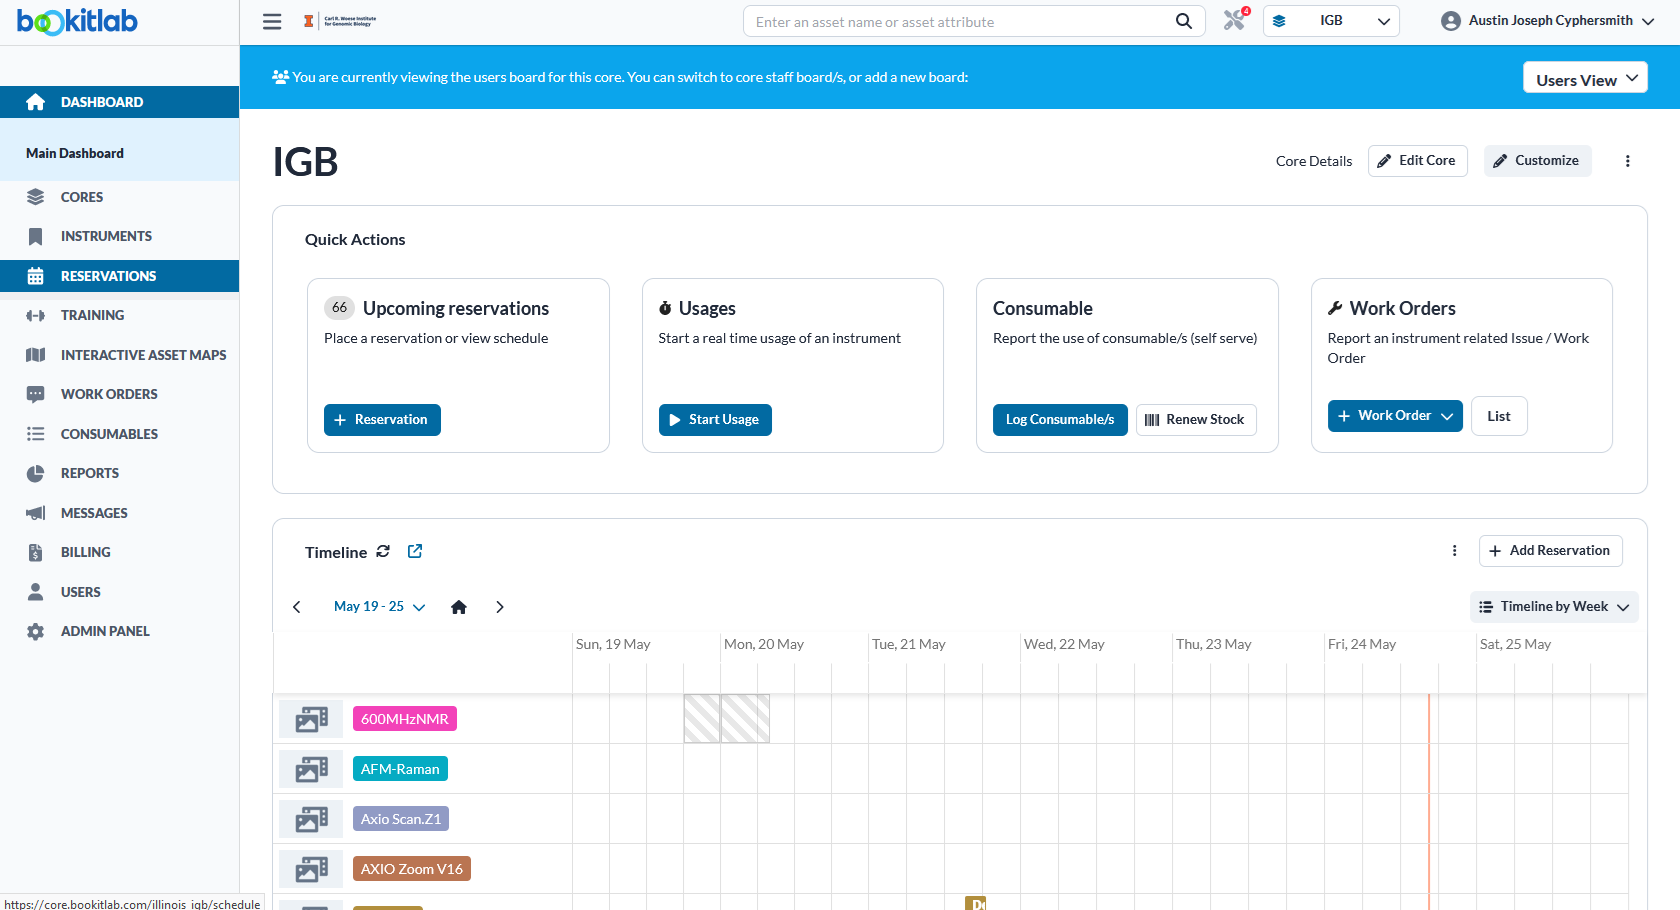
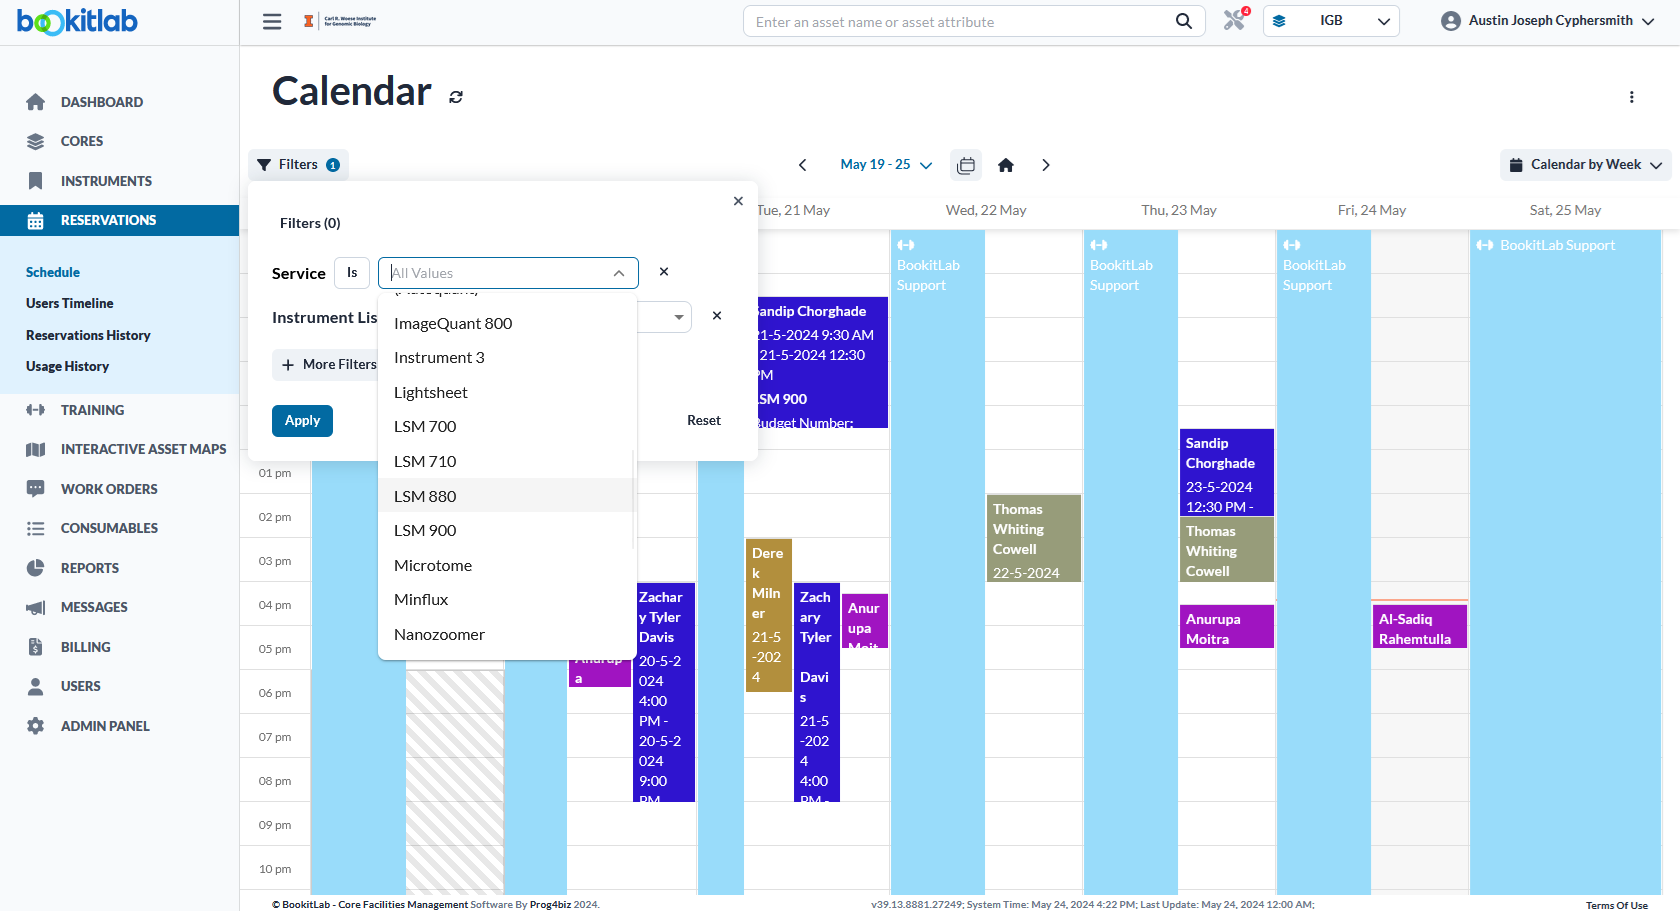
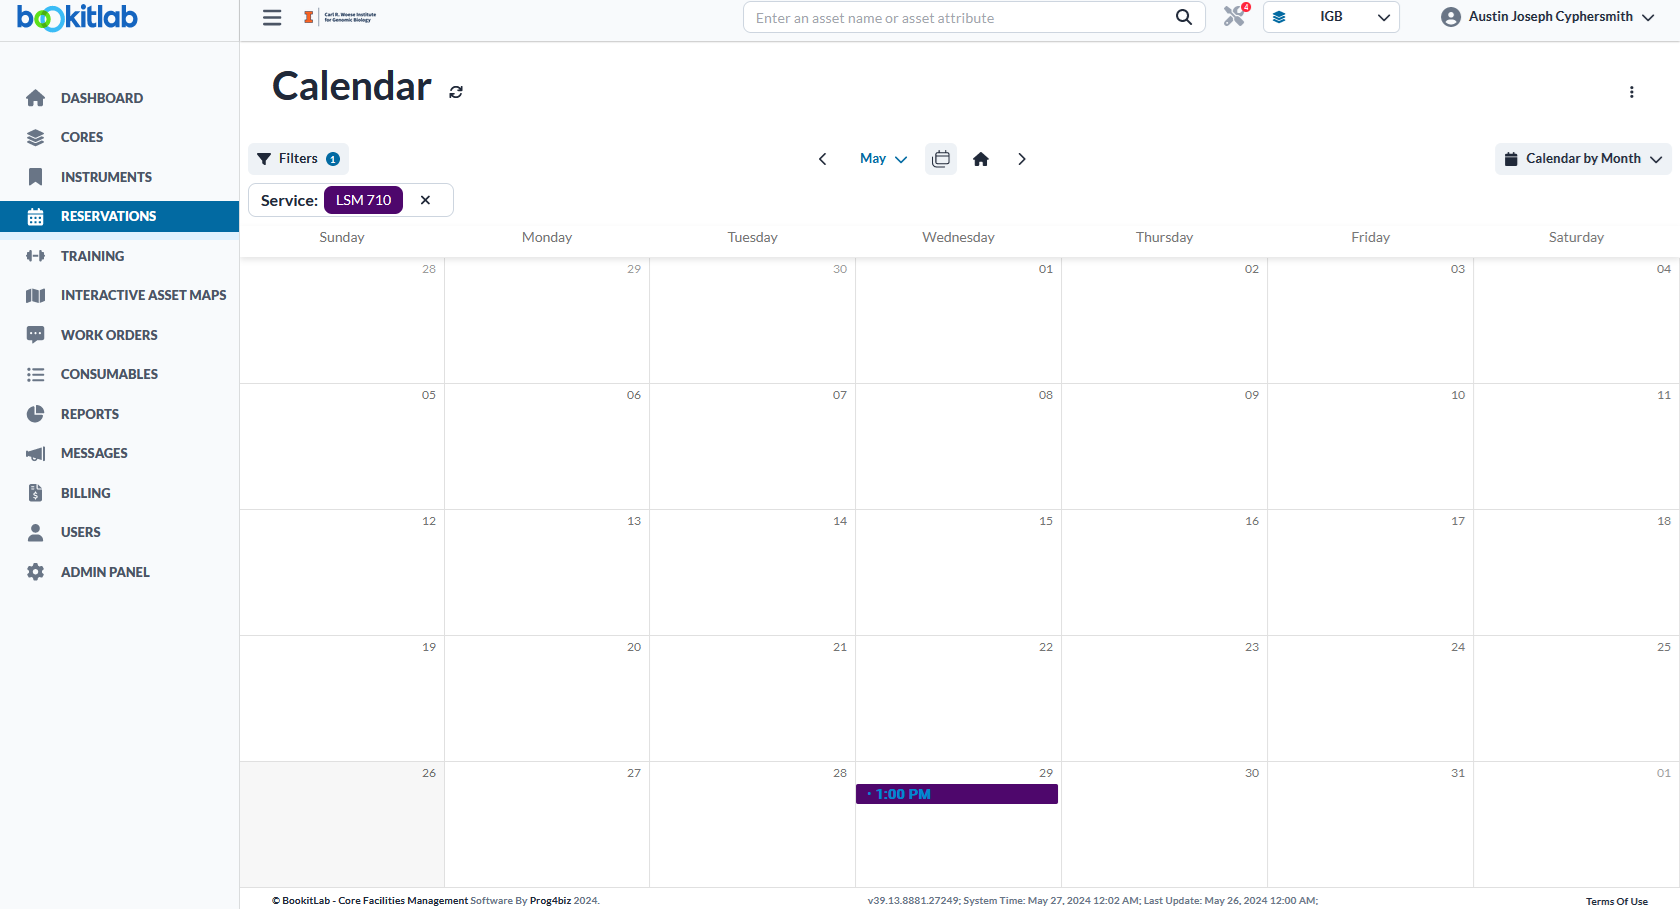
Choose Schedule and click on the Filters button just above the calendar.
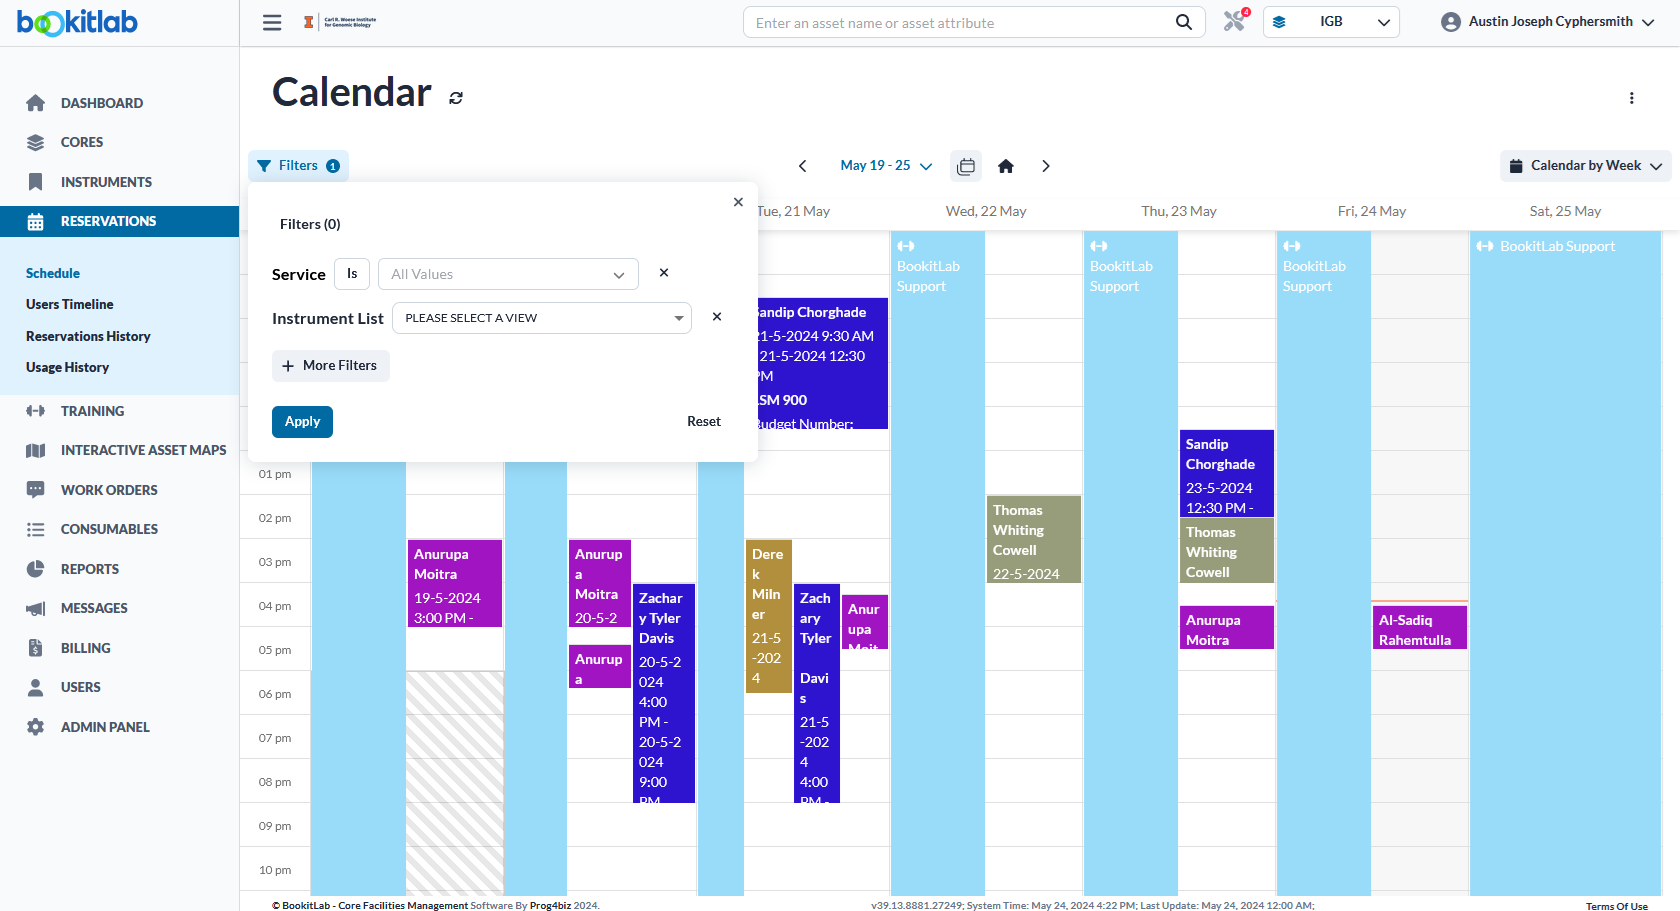
Search or type in the name of the instrument you want to reserve.
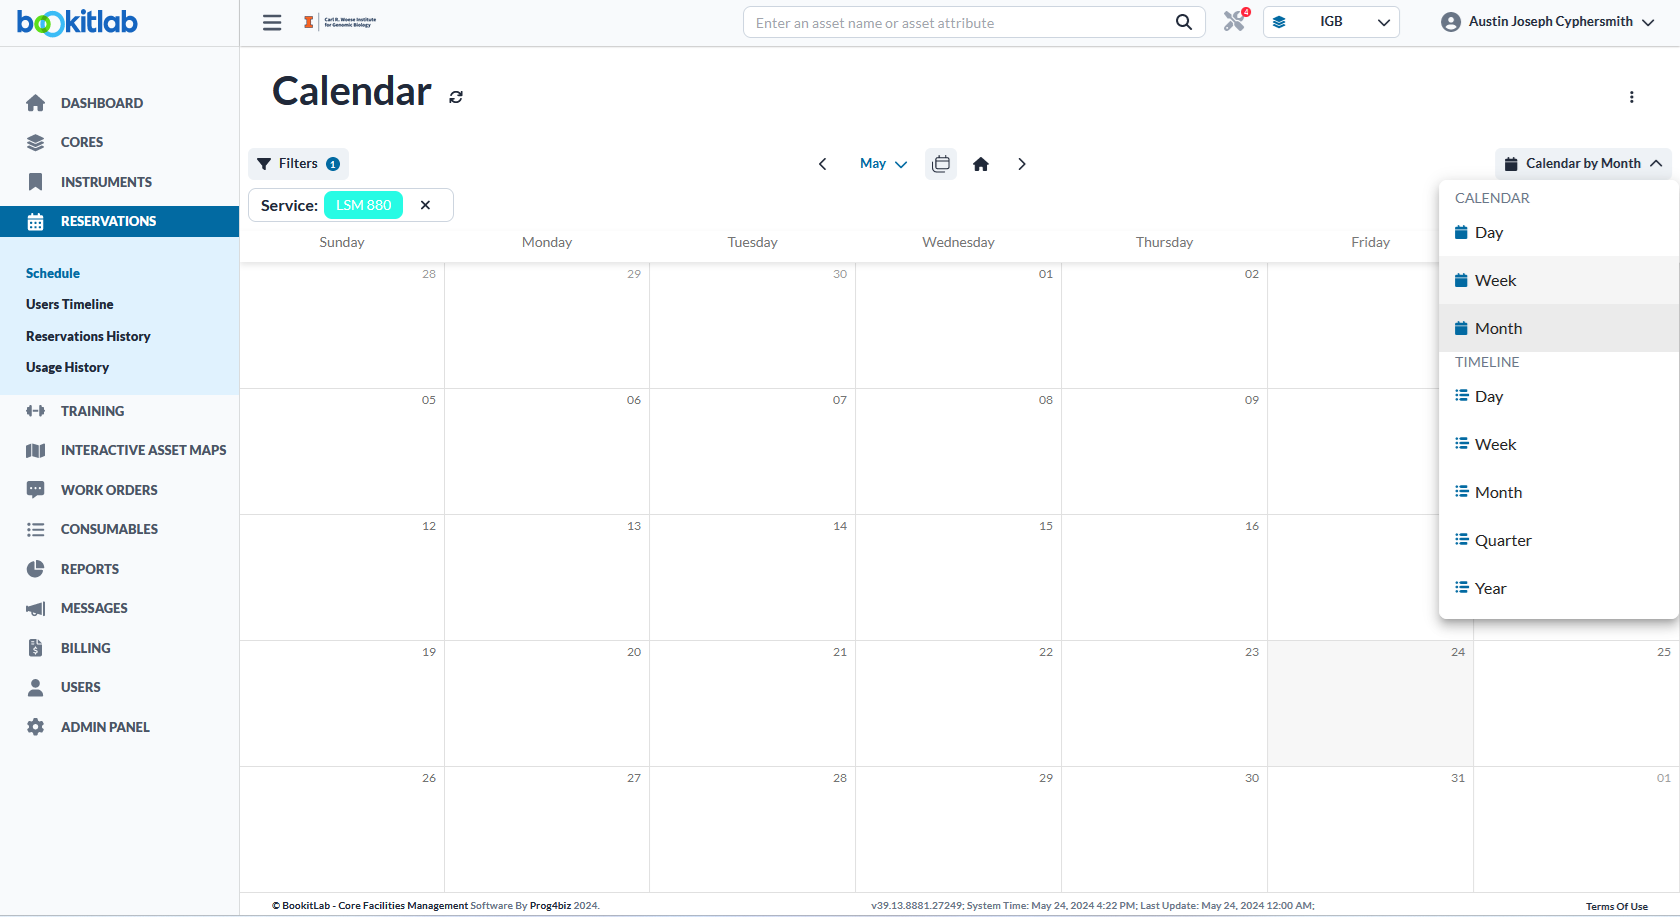
Change the calendar/timeline view with the menu on the right. Calendar by month or week are very useful.
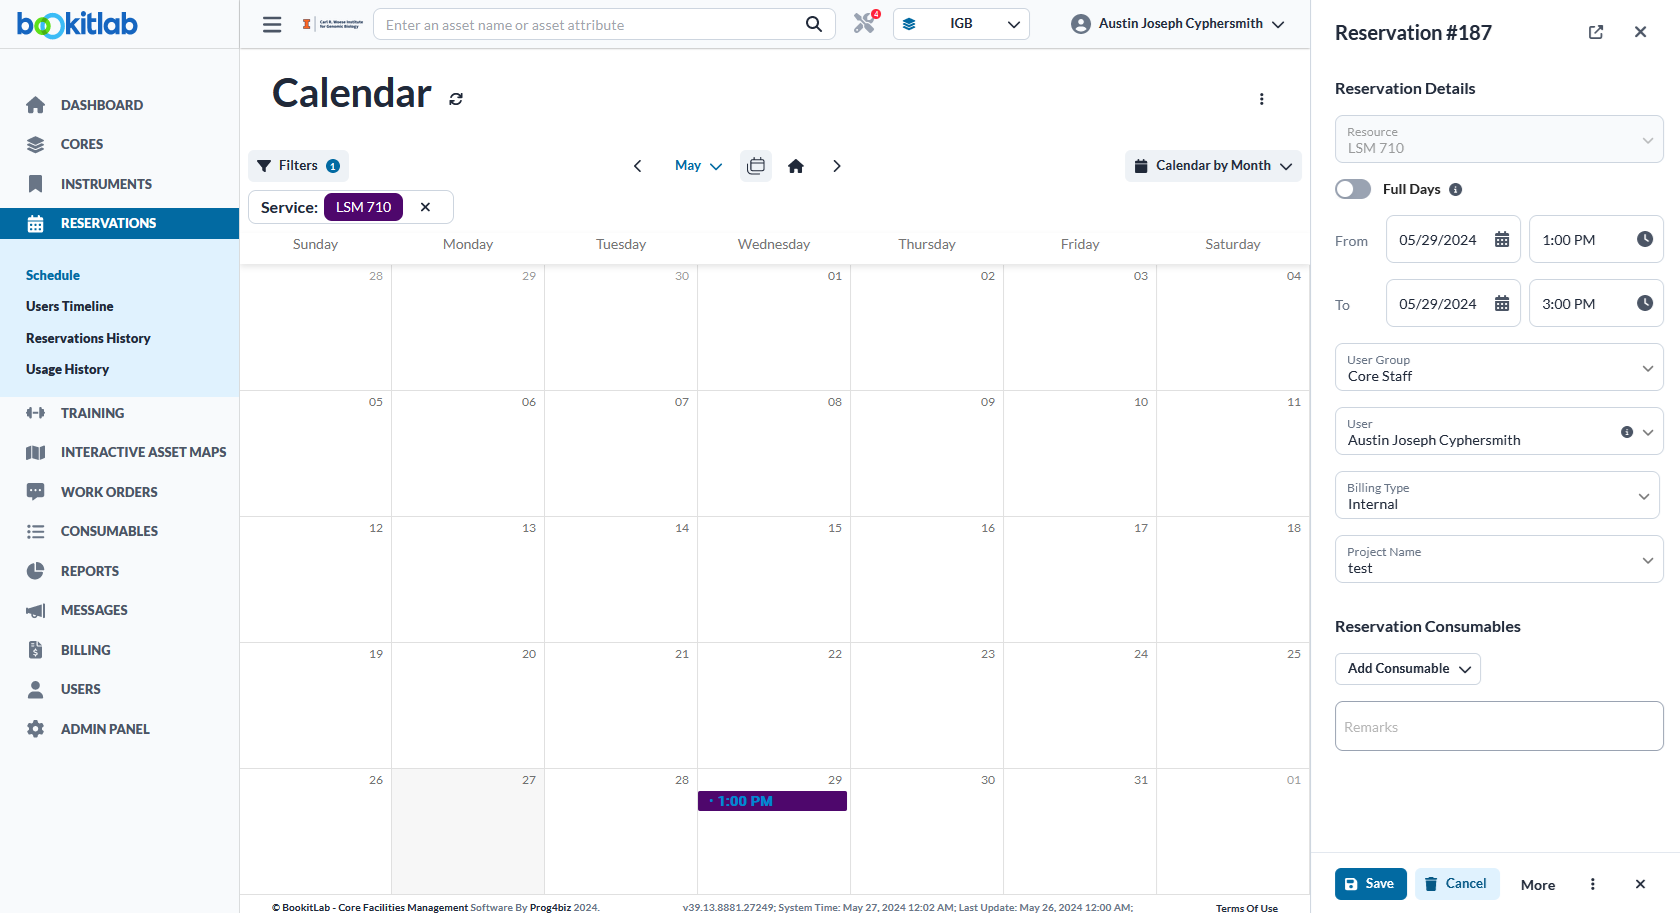
Drag on the calendar the time you want to reserve. A menu on the right will appear. Use this to adjust the time. Here you can add the date and time that you want to reserve. Choose the correct User Group (this is your PI), your user name, Internal Billing, and the Project Name (this is your CFOP). Then choose save.
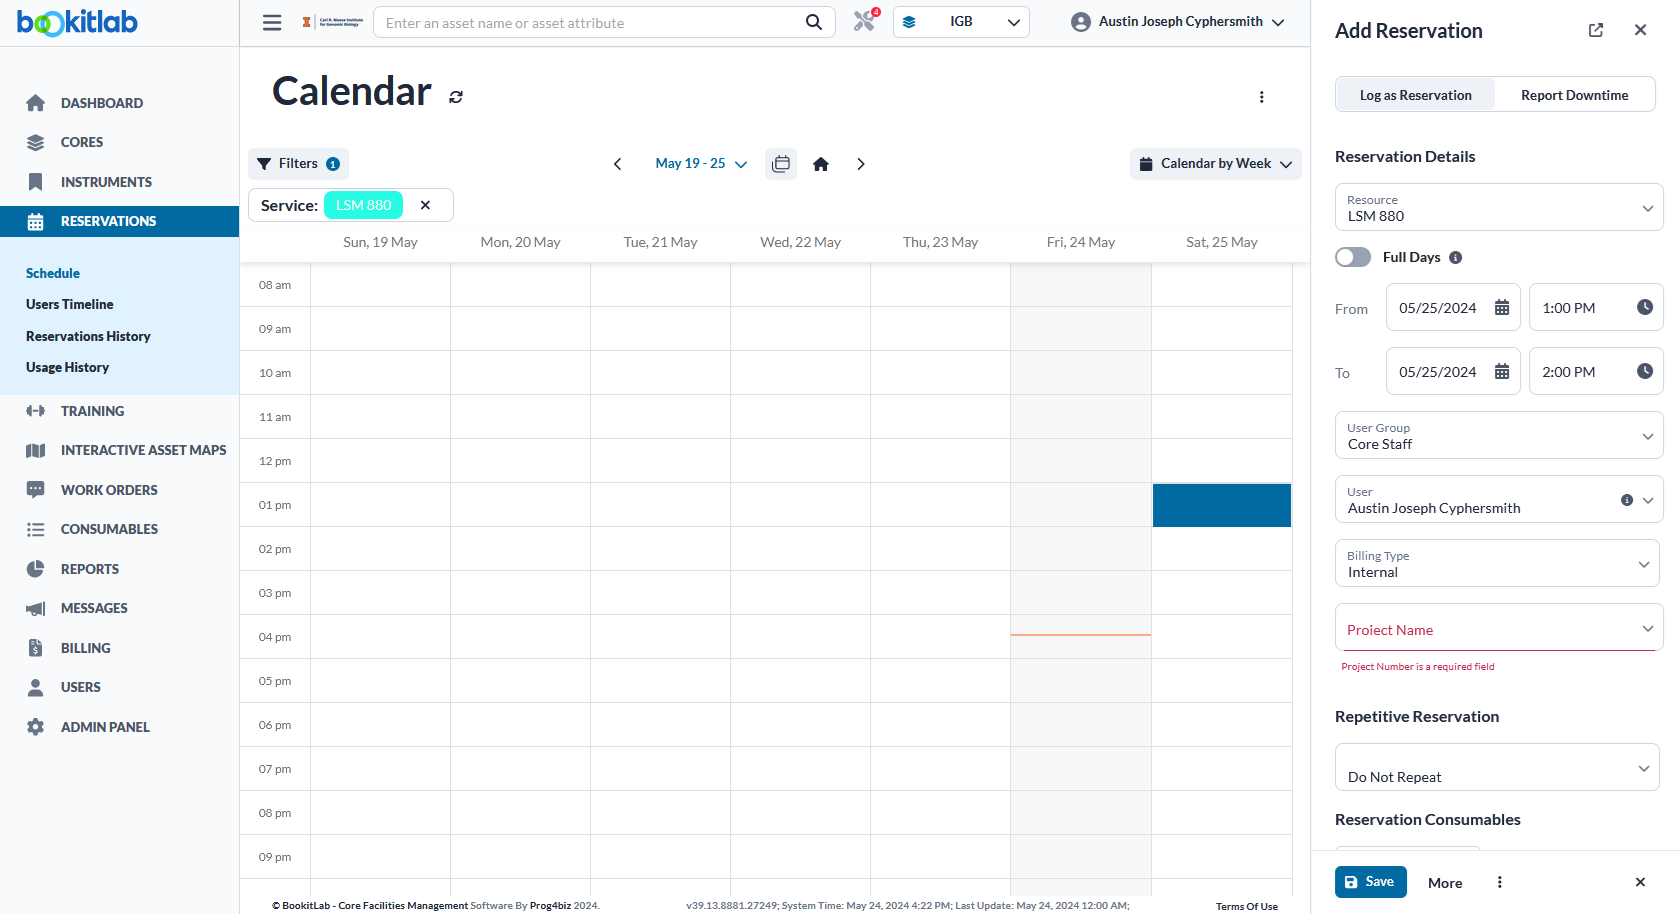
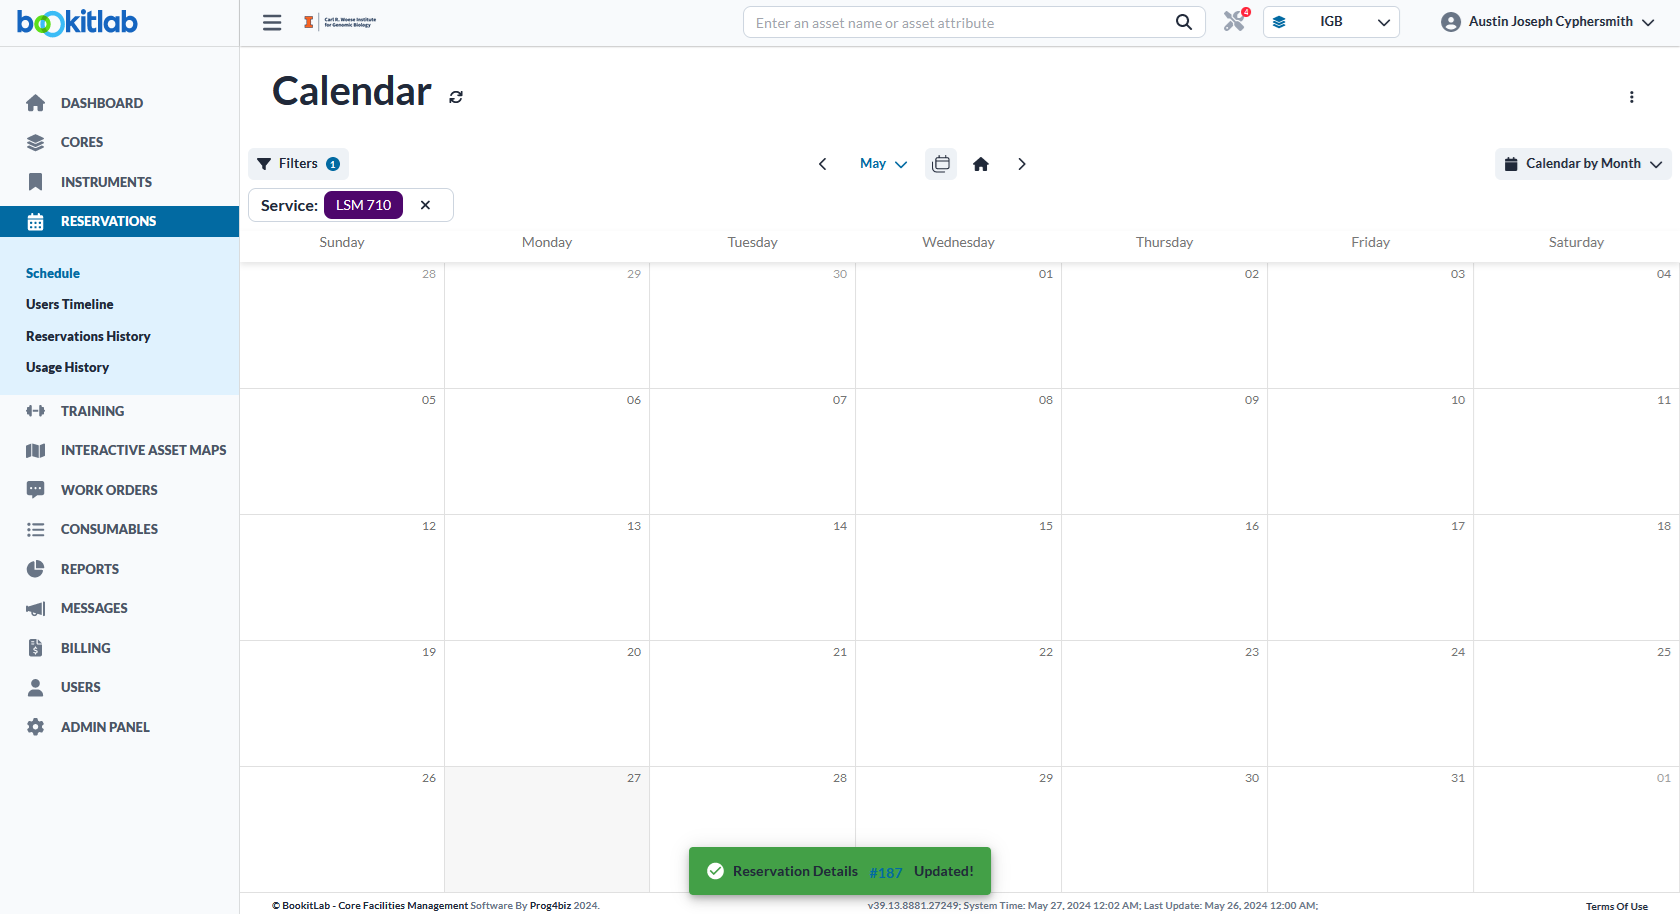
The reservation will appear on the calendar and a green box will appear at the bottom notifying you that the reservation was made successfully.

Cancel a Reservation
To cancel a reservation, go to the calendar via the Reservations tab on the the left menu.
Filter your selection by the instrument you want. Click on your reservation.
On the reservation menu on the right, click "Cancel" at the bottom of the menu.
A green notification will pop up to confirm you successfully cancelled your reservation.
Initiate Usage (Cryostat/Microtome/NMR)
Initiate Usage
If an instrument does not have a computer to log into, or has a Linux operating system, you will need to initiate tracking manually. There are two ways to do this - via computer or the bookitlab app. The instructions are essentially the same, but below are screenshots to guide you through each.
The app is the preferred method.
Via the app:
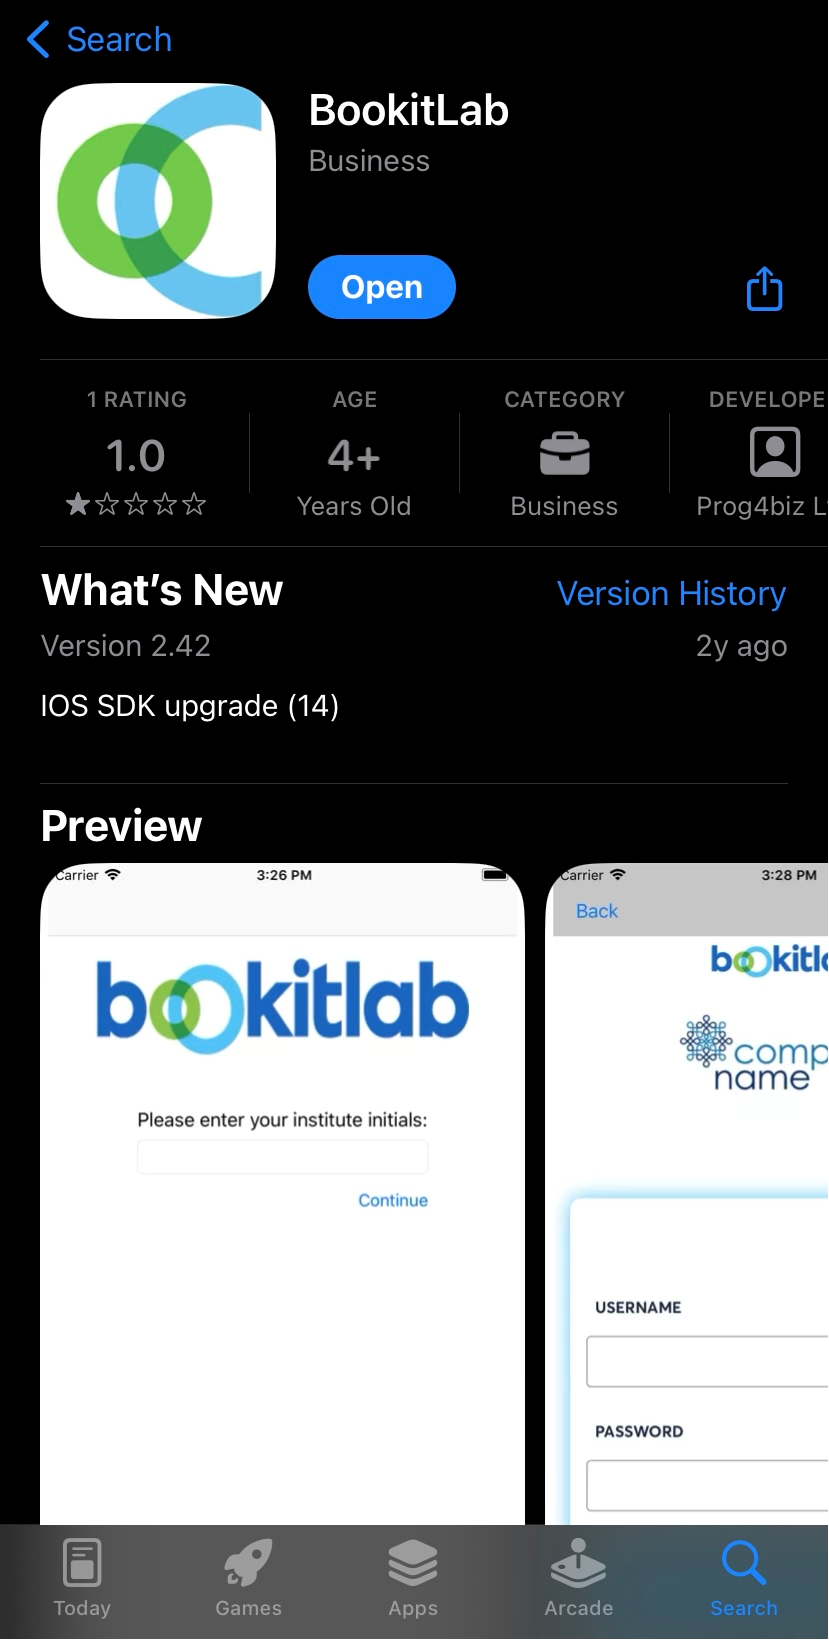
Download BookitLab from the AppStore. When launched, if asked to enter your institute initials, type IGB. Log in via SSO.
On the main dashboard, you should see the Usages Widget. Click "Start Usage".

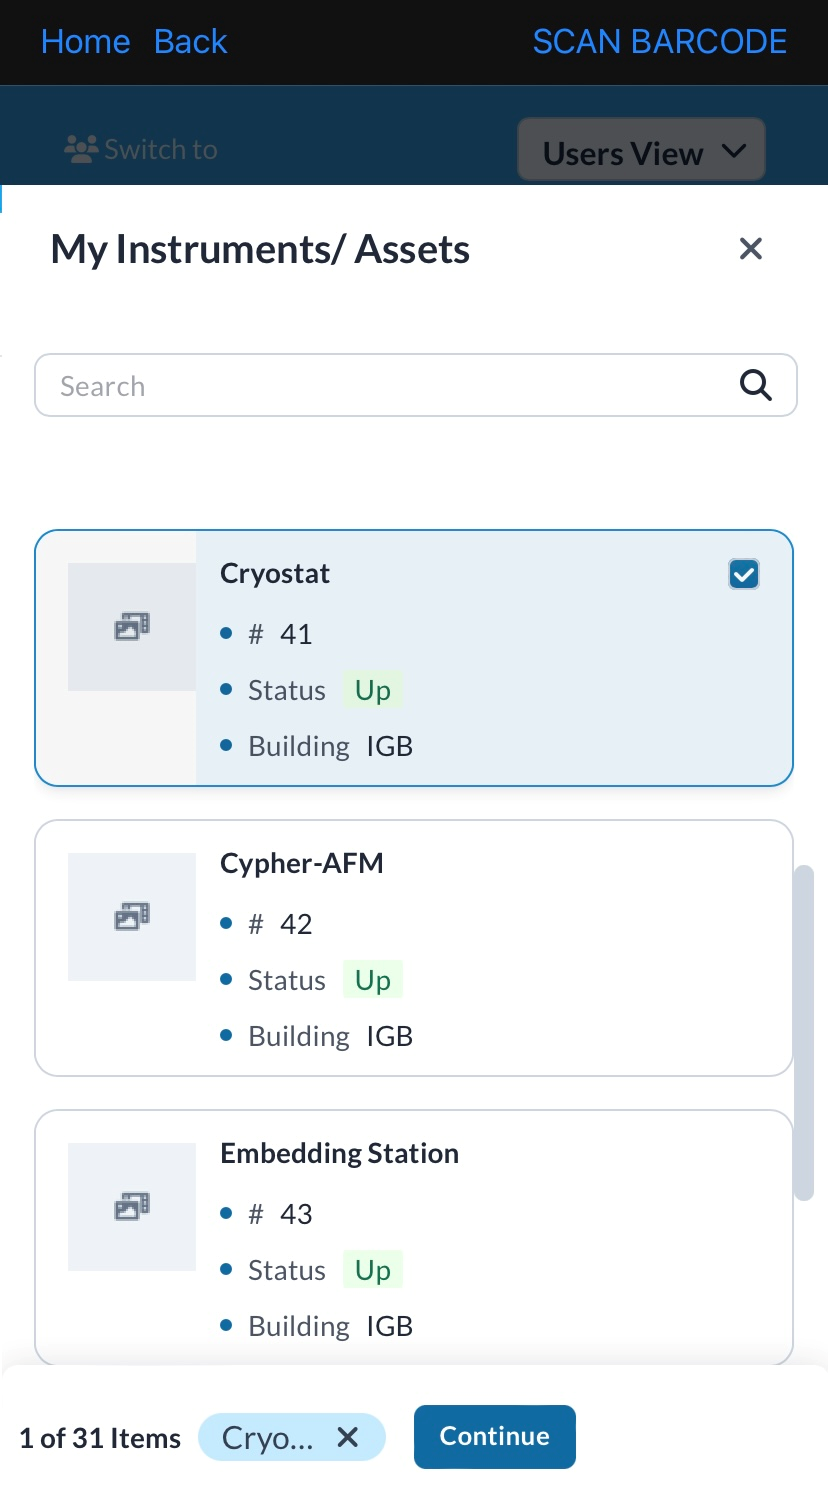
Choose the equipment that you have already reserved. In this example, we are choosing the cryostat. Click continue.
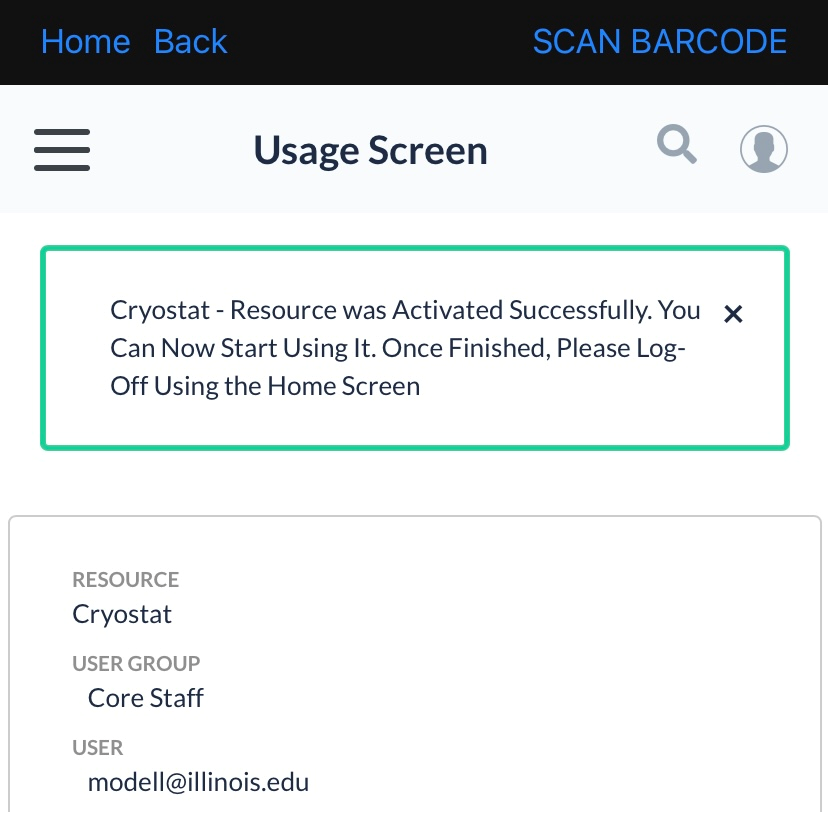
On the Usage Screen, your user group and user name should be accurate. Under projects, choose the CFOP that the usage will bill to. Click "Start Usage".

You will receive a confirmation screen to let you know this was successful, and also indicating how to stop your usage.
To end your usage, go back to the main dashboard and scroll down toward your active usage widget. Click "Log off".

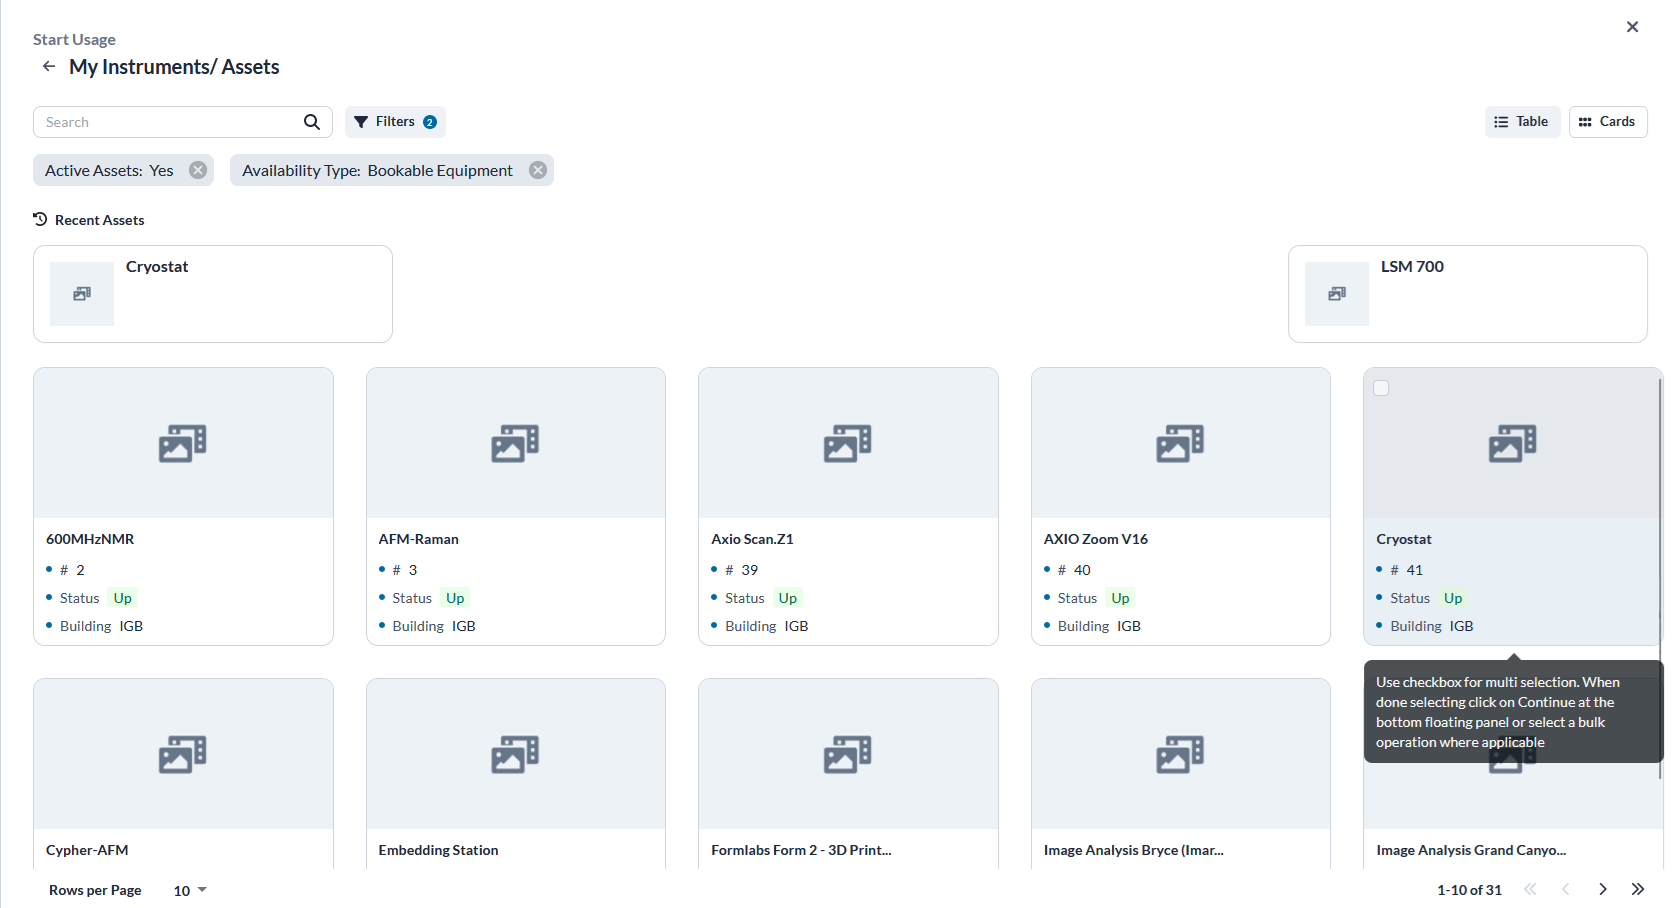
Via computer: You can start this by going to the Usages Widget on the Main Dashboard. Choose Start Usage.

Choose the relevant instrument by scrolling or searching for the name. Select the instrument.
Choose the User Group (PI), User, and Project Name (CFOP). Click on Start Usage.

A confirmation screen will let you know this was successful.

To end usage, go back to the Main Dashboard and scroll down to the "Currently Active Usages" item. Choose Log Off.

Purchase a Consumable
Purchase a Consumable
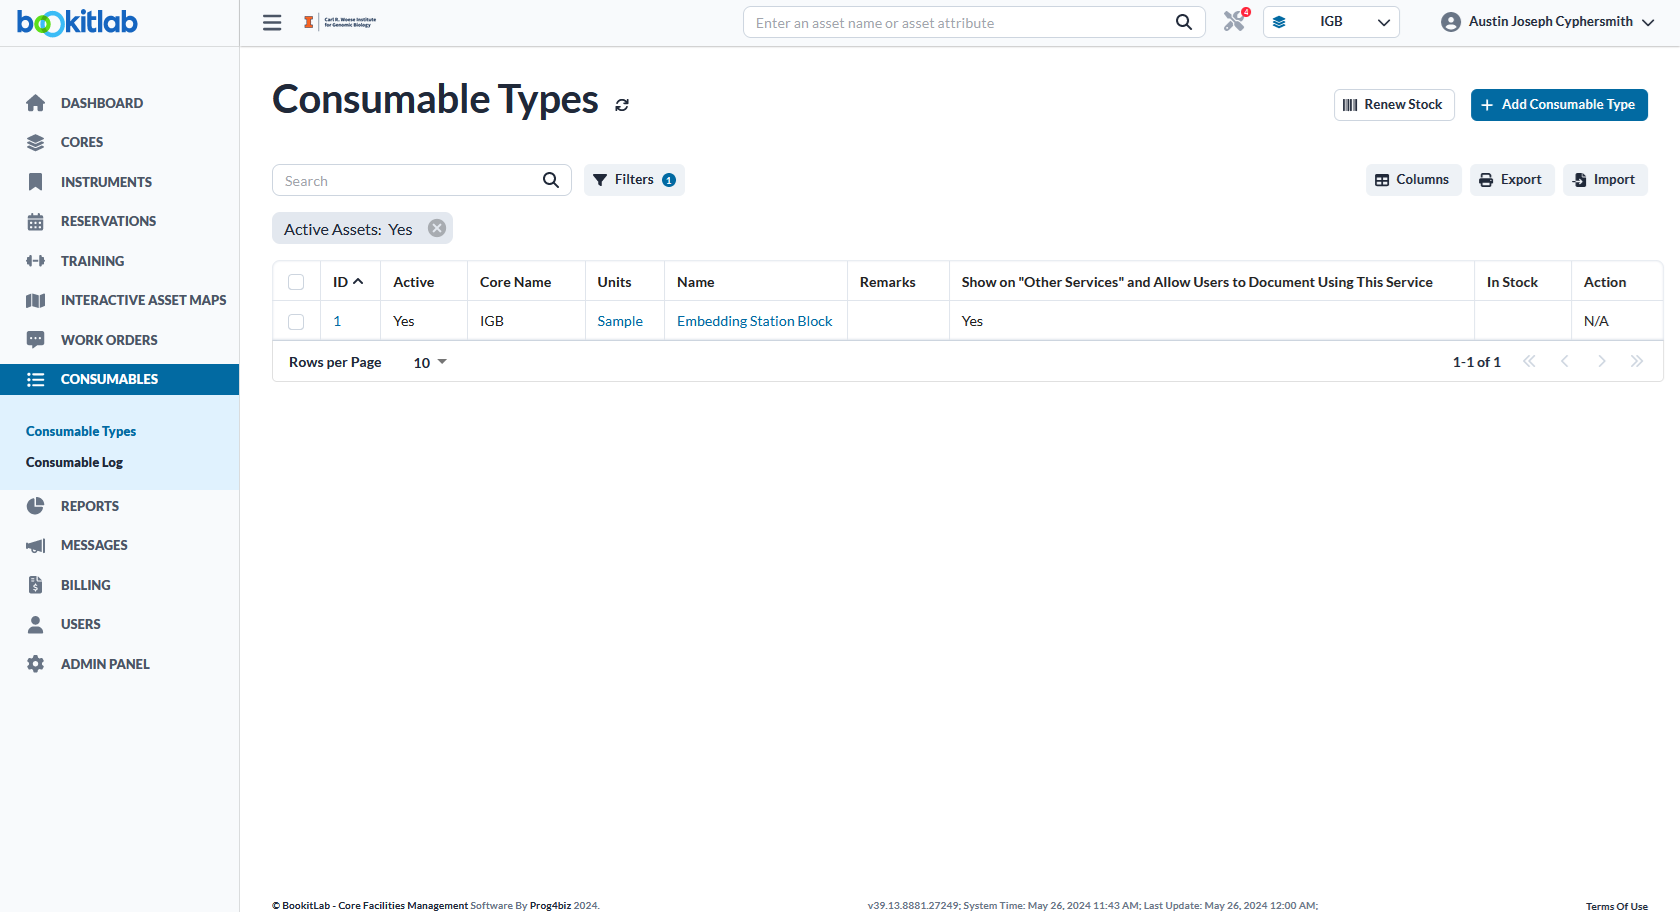
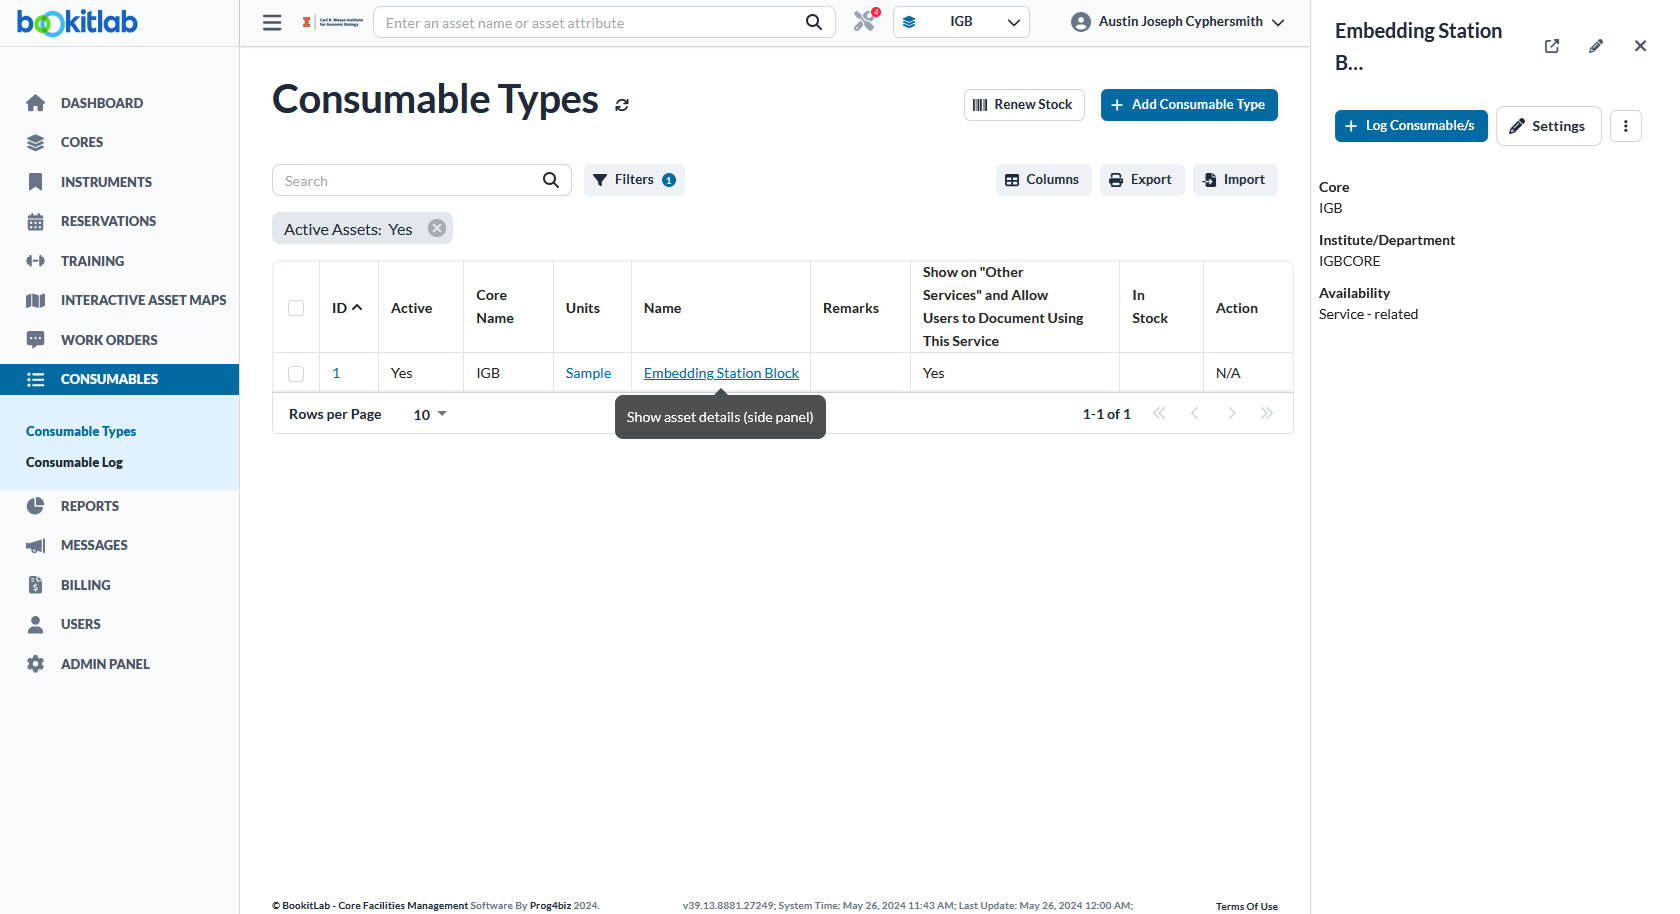
To add a consumable choose the "Consumables" menu item on the side bar on the left.
Choose from the list of items. In this case, click "Embedding Station Block"
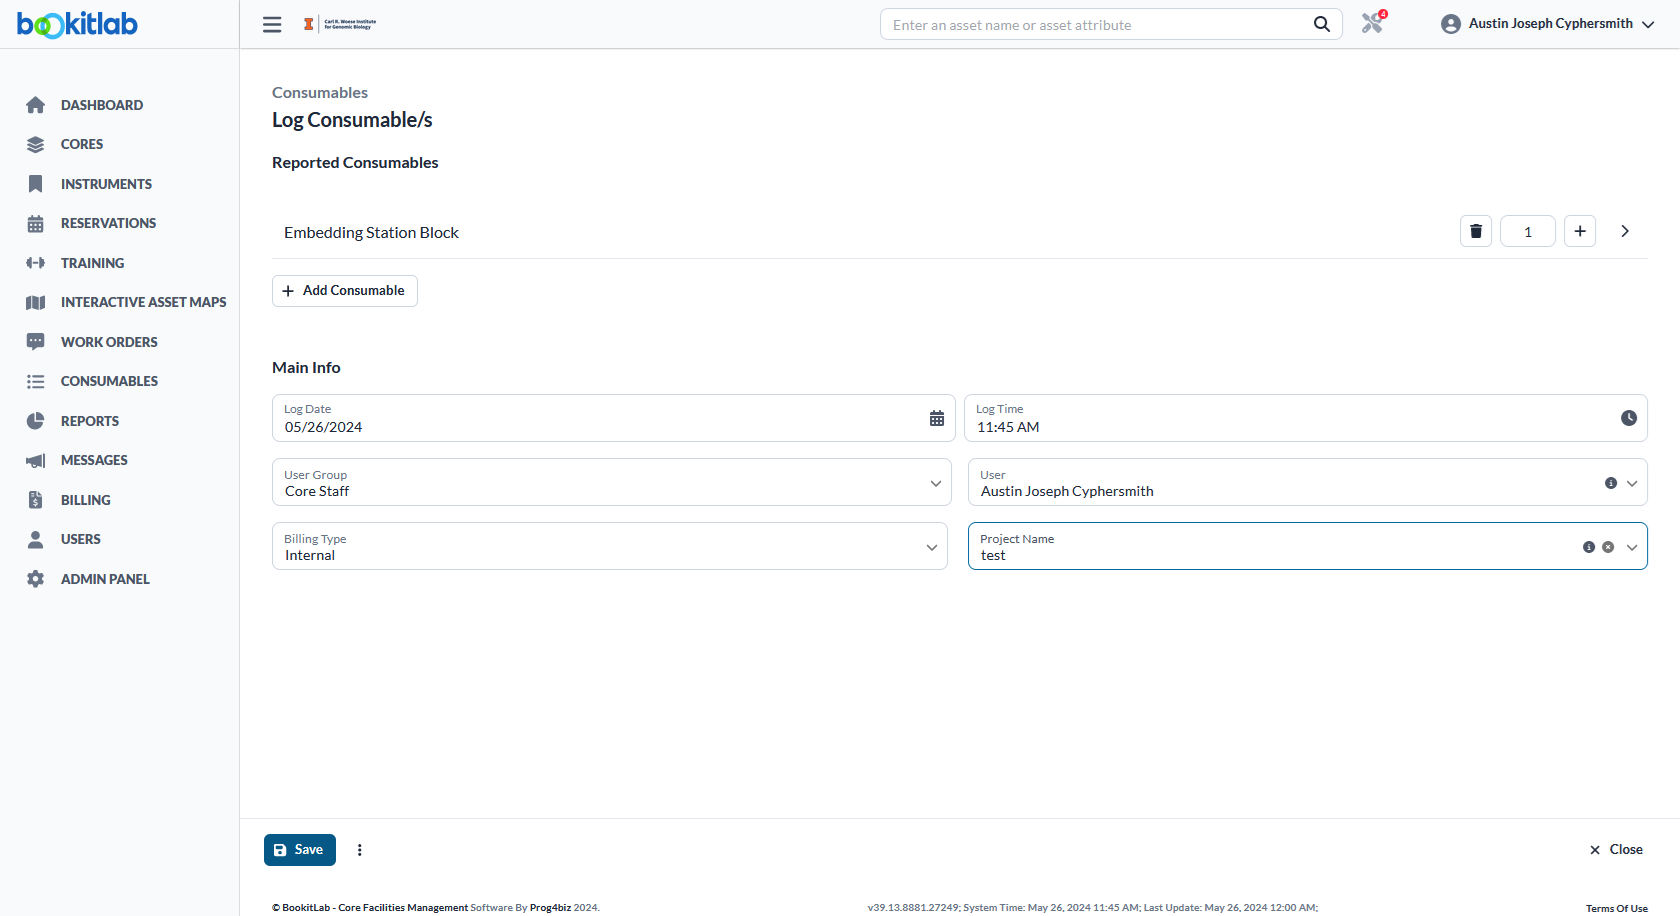
Choose the quantity of the consumable. Also, choose the User Group (PI), User, Billing Type (usually Internal), and Project Name (CFOP). Then click save.
Logging in to your reservation
Logging in to a computer with BookitLab
Log into Windows with your NetID and Active Directory password
A pop-up to log in to BookitLab should appear. If it does not appear, try opening Zen or the software used to control the instrument you are logging into. When it appears it should populate your research group and user id, if not choose them from the drop down menus.
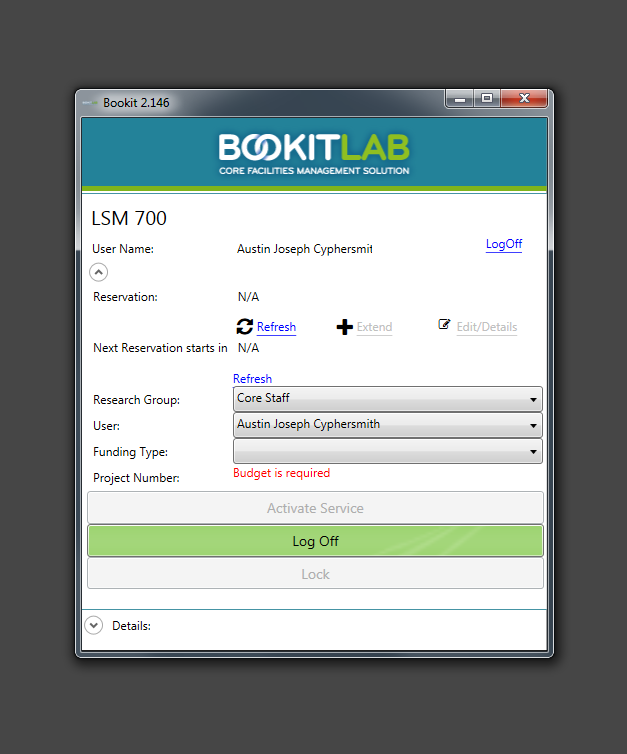
Choose a funding type - Internal for all UIUC users.
Choose a project number - This will be one of the CFOPs we have for you on file. If you do not find your CFOP please contact a core staff member.
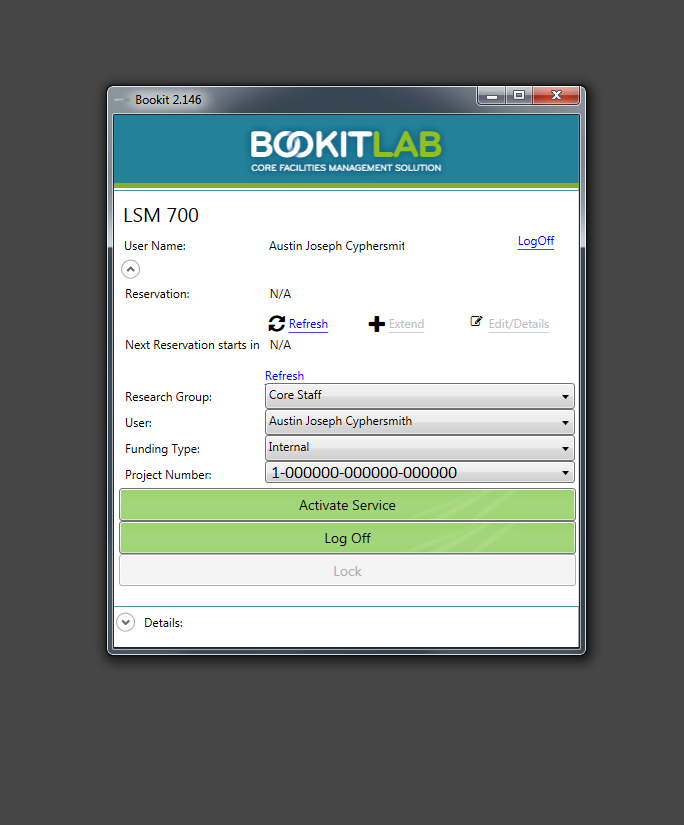
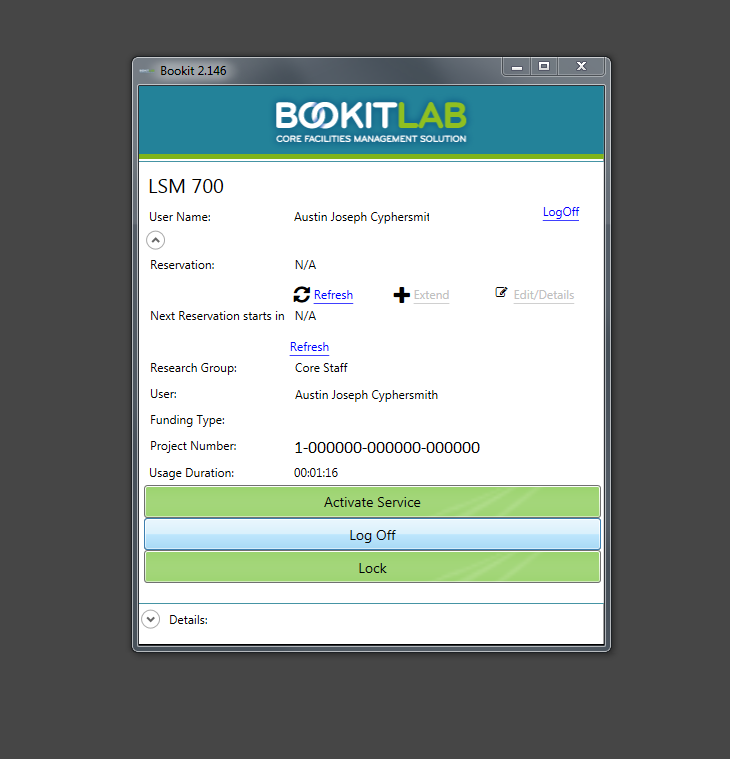
Choose "Activate Service" and Zen will boot. You won't start getting billed until you choose "Activate Service." You should be able to use the microscope as usual.

One you are done, close Zen and instead of logging of via Windows, choose "Log Off" from the BookitLab menu. This will end your billable session and log you off from the PC.
Accessing the Core-Server
Accessing the Core-Server
In general the process for accessing the core-server is the same as before. General instructions can be found here: https://help.igb.illinois.edu/Core_Server_Access .Since we are logging in with BookitLab, the mapping of the drive to your Windows profile will not work. (We are working on this).
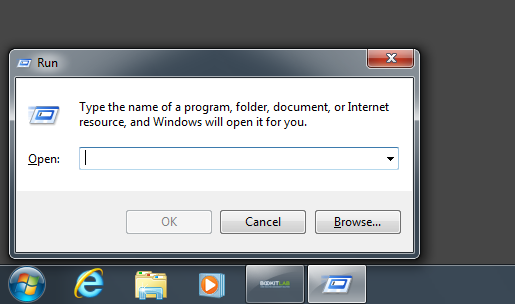
In the meantime, follow the steps below to log on to the core-server. Click the start menu and search "Run" and hit enter.
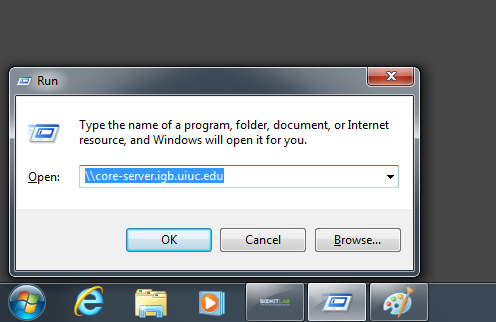
Type in \\core-server.igb.illinois.edu and press "OK."
When you are prompted to enter your username and password, make sure you correct the domain by entering IGB\YourNetID into the username field.
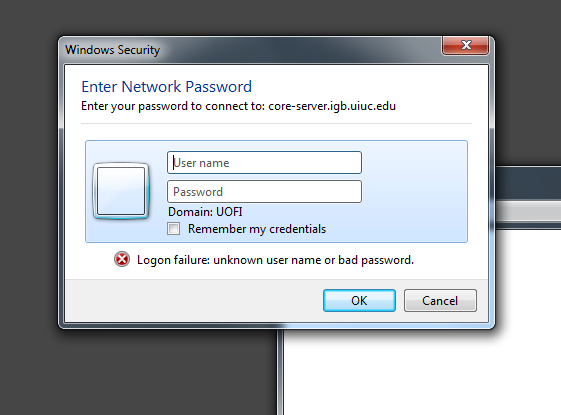
Enter the user name and password
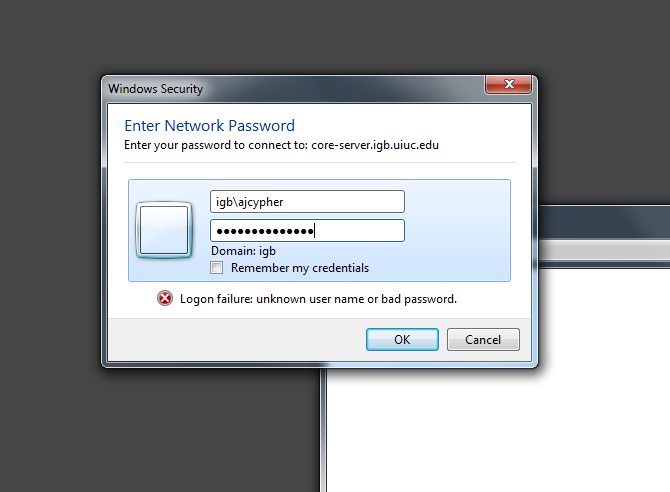
Then you should be able to access the core-server as usual.
